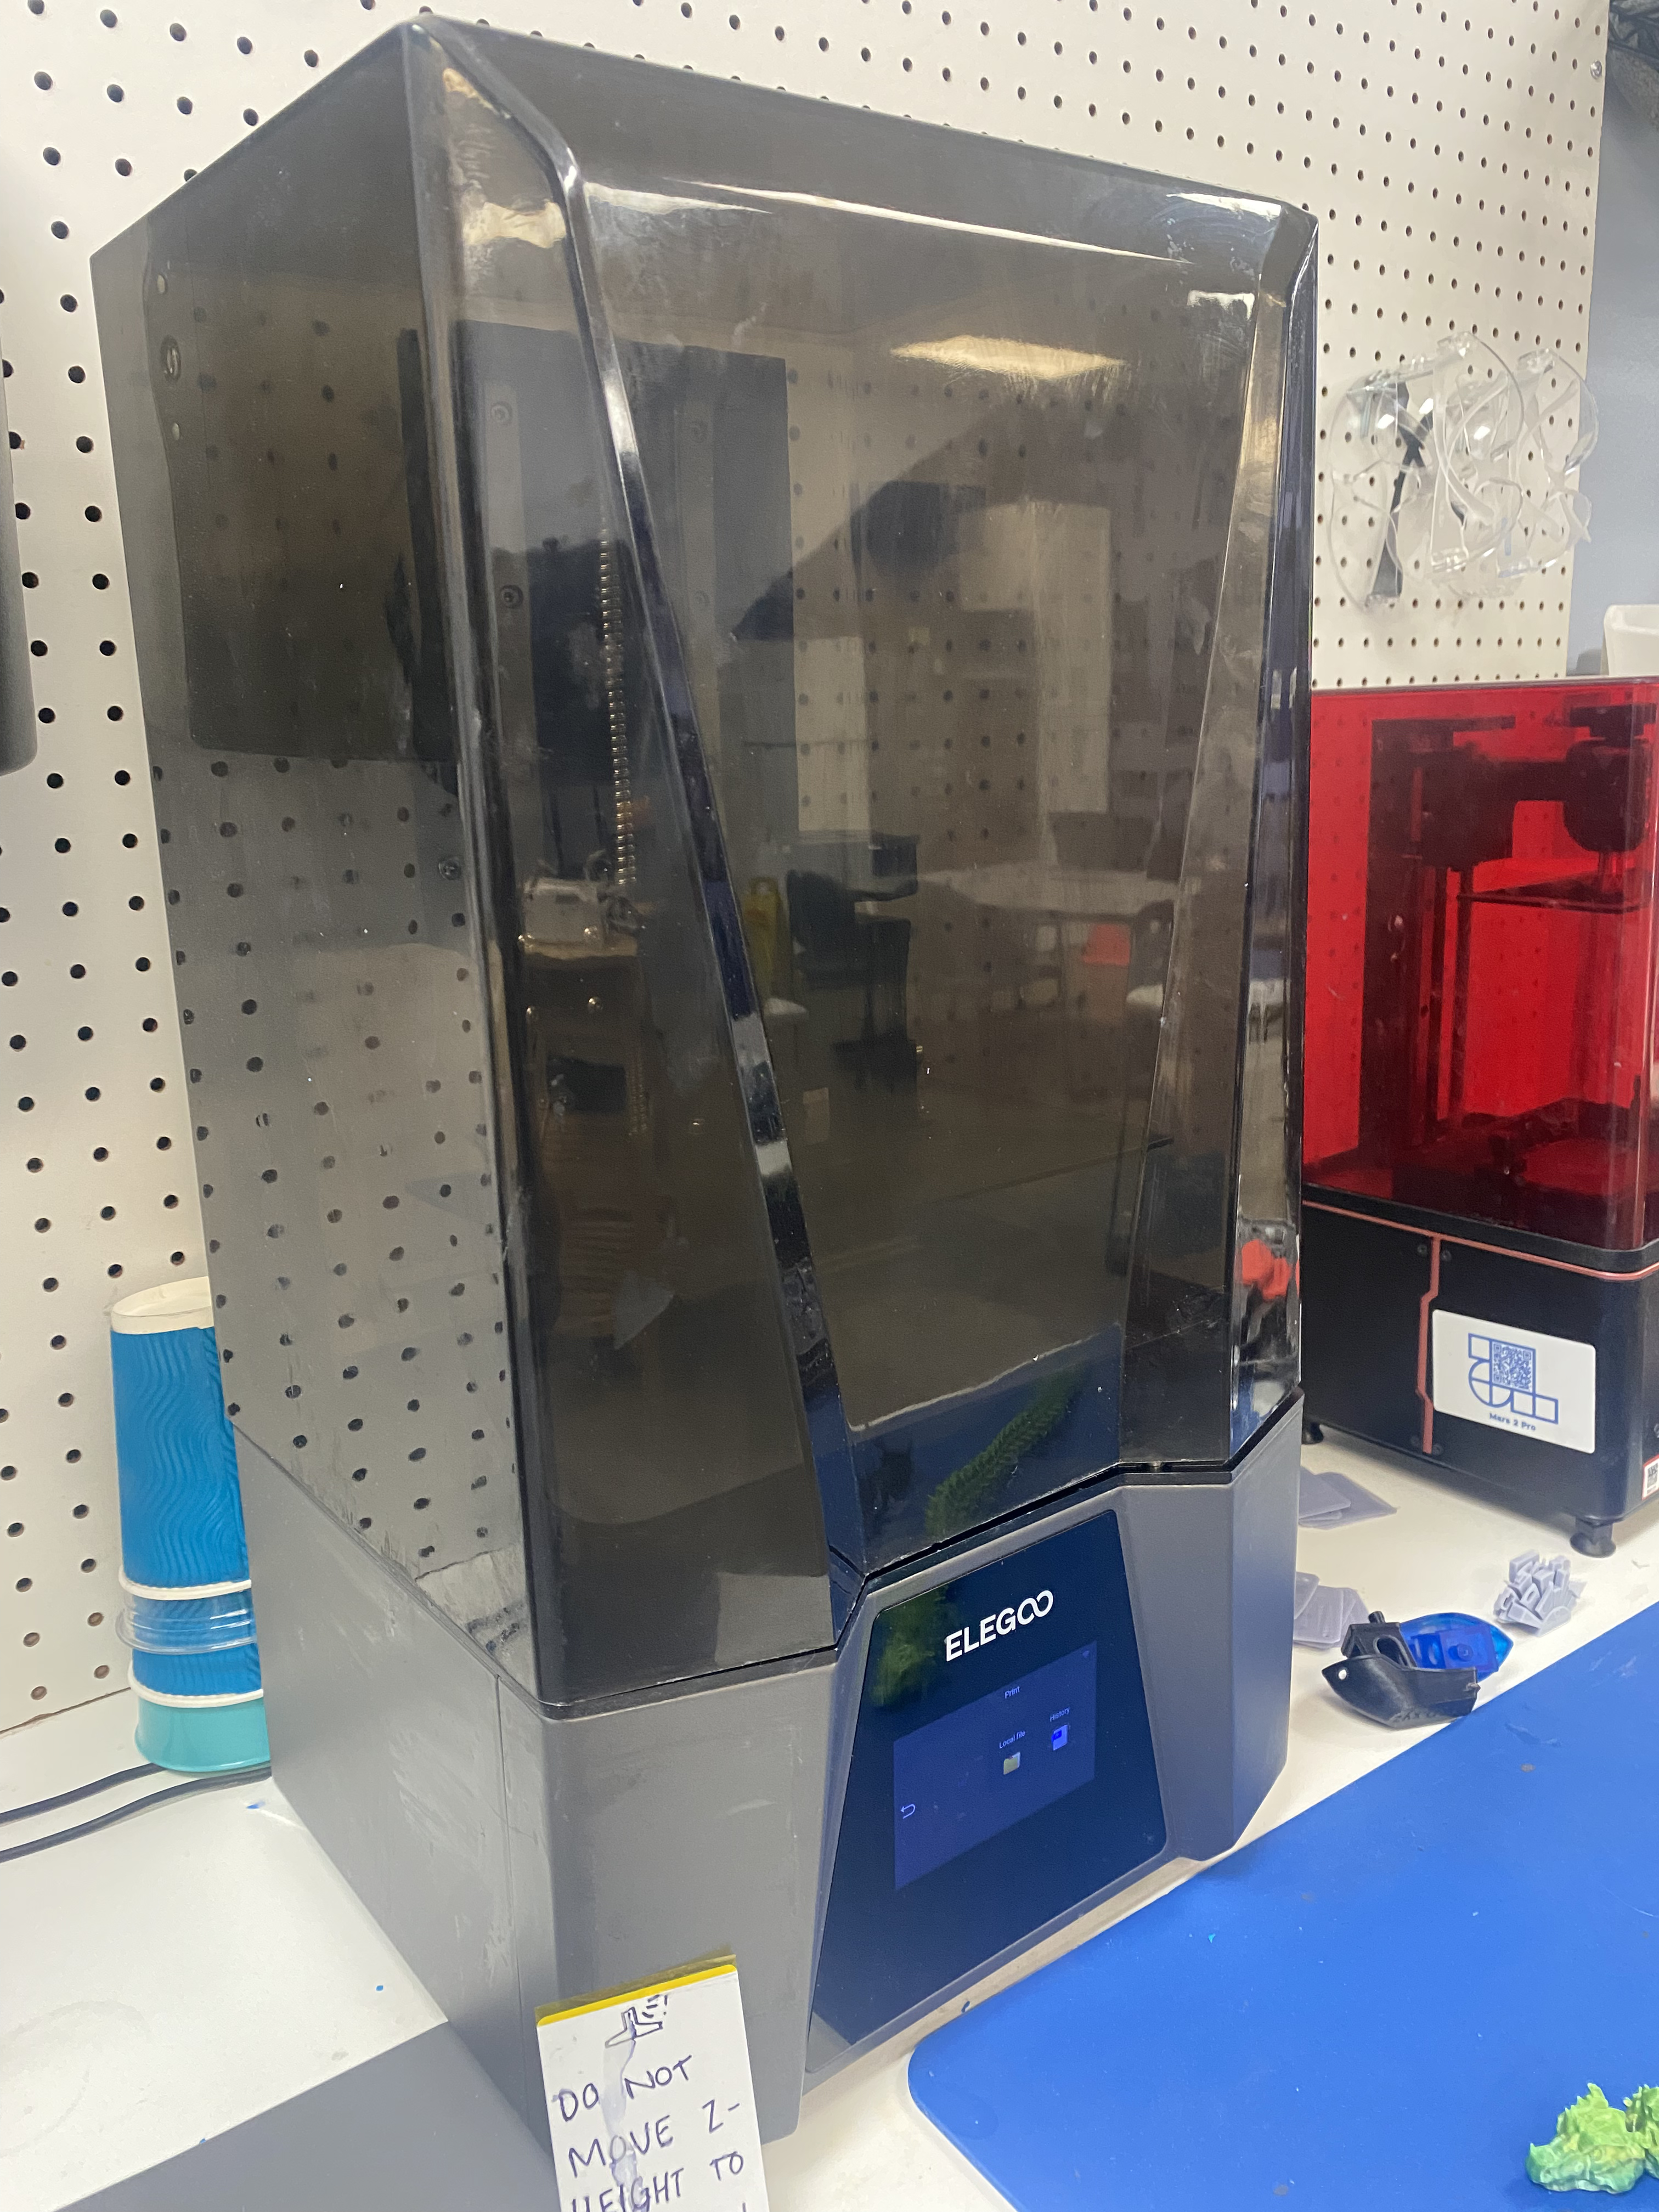
Elegoo Saturn 3 Ultra
Asmbly owns the ELEGOO Saturn printer SLA printers. We also own the ELEGOO Mars 2P, a cure post-processing equipment. Only resin purchased from Asmbly may be used in these printers.
![]() Members must complete the Intro to Resin 3D Printing Class before using this tool
Members must complete the Intro to Resin 3D Printing Class before using this tool
$ There is an extra charge to use this tool $
| Manufacturer | Elegoo |
| Model | Elegoo Saturn 3 Ultra |
| LCD | 10-inch 12K Mono LCD |
| System | EL3D-4.0 |
| Slicer Software | CHITUBOX & Voxeldance Tango |
| Technology | MSLA Stereolithography |
| Layer Thickness | 0.01 - 0.2mm |
| Printing Speed | Maximum 150mm/h |
| Z Axis Accuracy | 0.01mm |
| XY Resolution | 19 x 24μm (11520 x 5120) |
| Build Volume | 218.88mm(L) * 122.88mm(W) * 260mm(H) |
| Light Source | COB + Refractive Light Source (Wavelength 405 nm) |
| Languages | Chinese, English, Japanese, Dutch, Korean, French, German, Russian, Italian, Spanish, Turkish, Portuguese |
| Connectivity | USB Interface & Wi-Fi |
| Weight | 16.2kg |
| Operation | 4.0-inch Capacitive Touch Screen |
| Power Requirements | 100-240V 50/60Hz 24V 7.5A |
| Printer Dimensions | 305.9mm(L) * 273mm(W) * 562.5mm(H)
}} |
Safety
Universal Safety
- Be aware of your surroundings, especially when handling large materials.
- Do not approach anyone operating equipment. Stand patiently in their field of view.
Equipment-Specific Safety
<CLASS> is required to use this tool.
<PPE> are required to use this tool.
Etiquette (if relevant)
Example:
If you are going to be spending a lot of time on the miter saw, write "miter saw" in the optional notes of your Skedda booking so other woodshop users will know.
Use Case
Description of what the tool does and when or why to use it
Asmbly use: e.g. Skedda required, or part of an area.
Materials
Acceptable Materials
List of materials allowed or not allowed (whichever is easiest) on this tool
e.g. no metal, no lubricants, no wet glue, no chlorinated materials
Required pre-processing (e.g. pre-jointed / planed lumber before table saw)
Material Limits
Table of min max dimensions / Material limits
Consumables
Shop provided consumables and where to find them.
e.g. bulk lubricate or cleaning supplies
What consumables to bring from home
e.g. sand paper, glue, specialty precision tools or materials
Operation (pictures encouraged)
Feeds and Speeds - if appropriate
Controls
Settings and Adjustments
Leveling the bed
To level the bed, follow these steps:
- Use a 4.0 mm hex wrench to loosen the screws on the build plate, allowing the plate to move freely.
- Place a sheet of paper on the LCD screen.
- On the touch screen, select "Back to Zero" to lower the bed.
- When the bed reaches the LCD screen, press down on the middle of the build plate and tighten the screws one by one. Start by tightening the screws along the diagonal first.
- After all screws are tightened, gently pull the paper. You should feel slight resistance—this indicates that the leveling is correct.
- On the touch screen, return to the previous menu, set "Z=0," and press "Confirm."
- Manually raise the build plate.
Tool Use
Cleanup
Universal Cleaning Guide
- Return the equipment to neutral.
- Sweep up any dust and debris around the tool, your table top, and the floor - both in the equipment area and your work area.
- Clear the floor of any tripping hazards, like power cords.
- Empty trash cans and dust collectors that are halfway full or more into the Asmbly dumpster behind the workshop.
- Leave the shop 110% better than you found it.
Tool Specific Cleaning Guide
- The build plate does not have to be cleaned every time a print is made, as it'll waste time and resin. Only clean the plate if a print failed or if something fell into the resin.
- The resin can be left in the printer for months, so long as the resin is stirred and heated before a print is made.
- The FEP sheet can be cleaned by cutting a microfiber towel into three or four slices and wiping the FEP sheet with them.
Example for Miter Saw:
- Brush off top surface
- Brush around machine
- Clean infeed and outfeed tables
- Sweep floor
- Wall vacuum hose works well
Resources
Manual
Discourse Links
SIG Information (if relevant)
External Resources
Troubleshooting
Common Problems
Detail what the problem is and how to fix it
If you are unsure, it is always best to contact a steward and fill out a problem report
