Prusa MK3S+
![]() Members must complete the Intro to Filament 3D Printing Class before using this tool
Members must complete the Intro to Filament 3D Printing Class before using this tool
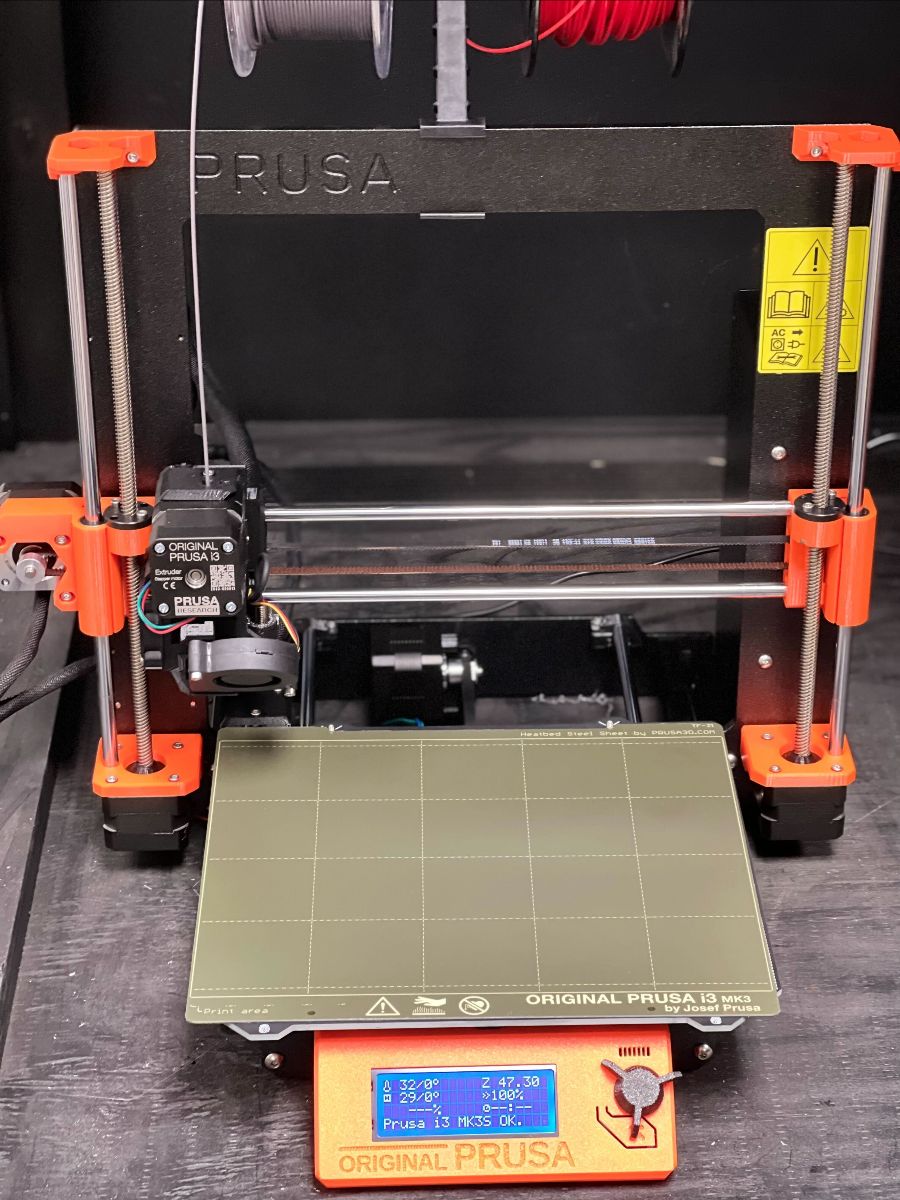
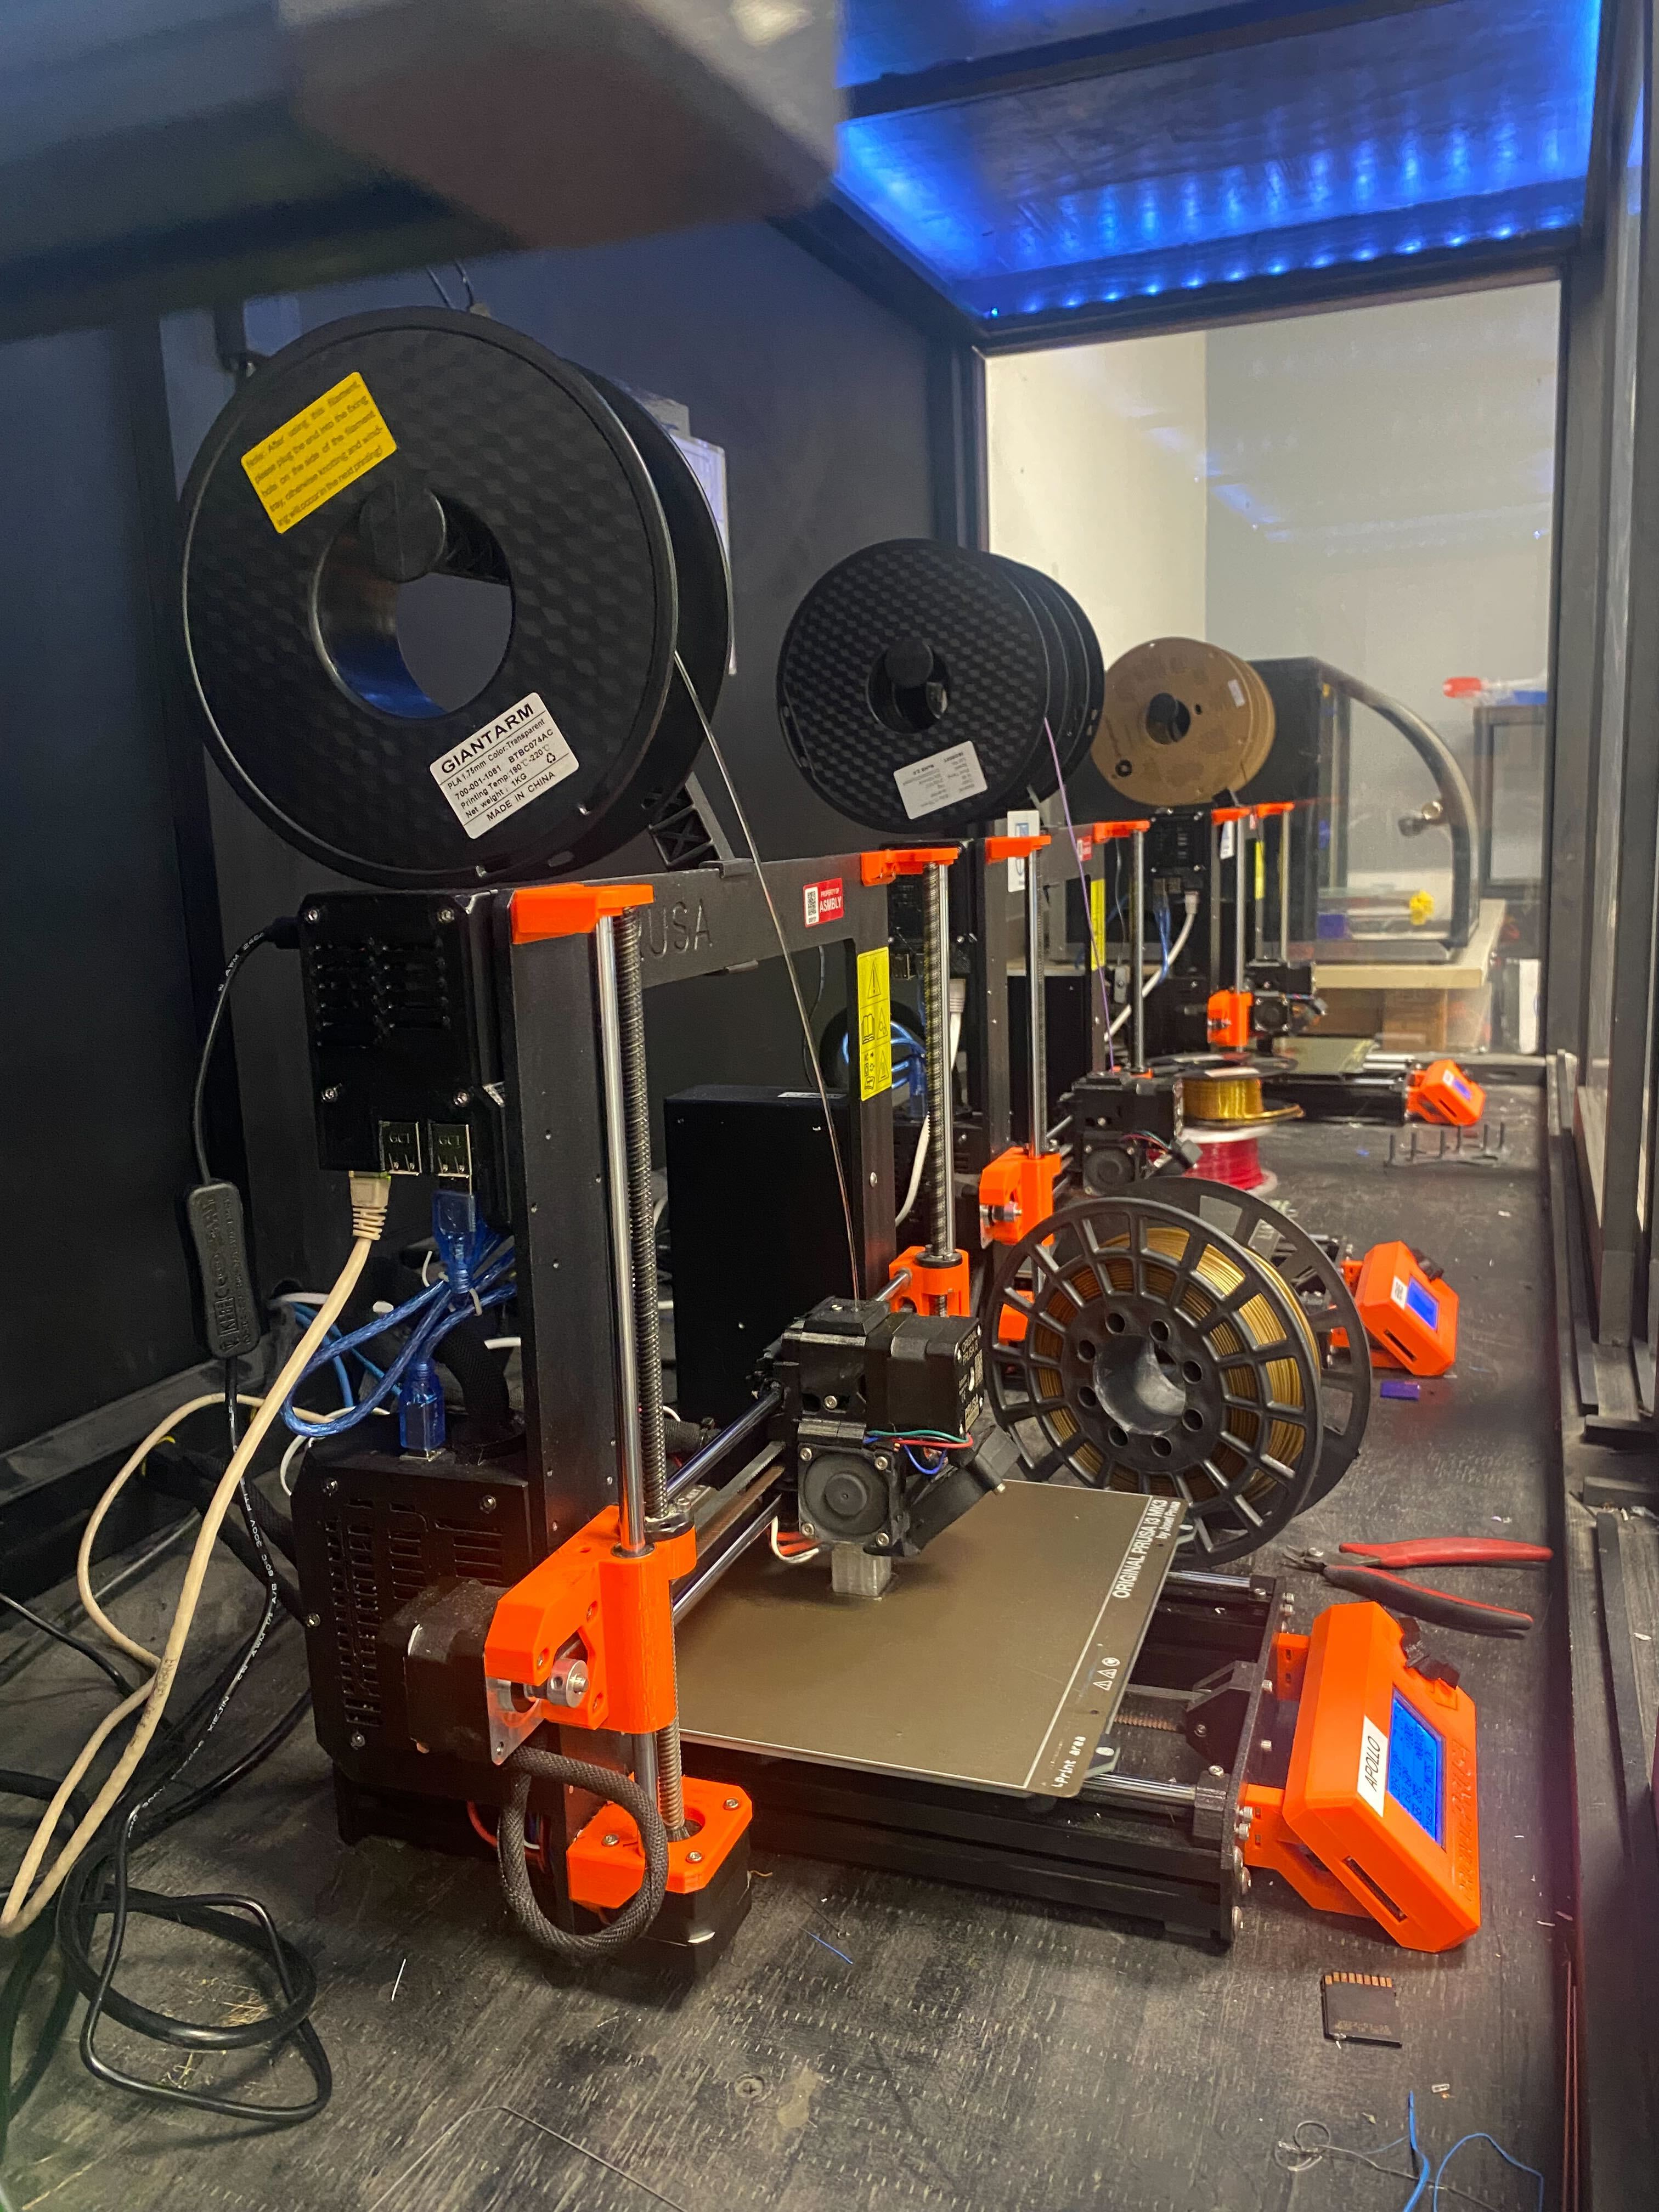
Asmbly has three Prusa i3 MK3S+ 3D Printers. As of now, these are the recommended 3D printers for new users and will be covered in the Intro to 3D Printing class. These printers live to the left in the printing enclosure. The one on the left is named Apollo, and the middle is named Hermes, and the rightmost is Sunwukong.
|
|
|
The printers are controllable over Octoprint, which you can use the web browser or an app to connect to while on the ASMBLY network. You cannot access these machines from home. Tasks such as preheating and filament changes can be done via the built-in panel on the front bottom of the printer. The Octoprint configuration is the standard OctoPi installation, consisting of the Raspberry Pi 3 or 4 being attached to the back of the printer frame, connected via USB to the printer and via Ethernet to the ASMBLY network (WiFi connection from the Pi to the network is currently unstable), with the OctoPi 1.0.0 (build 2023.10.09.151442) stable image installed on the Pi. In an attempt to keep the printers as easily serviced and maintained, we are trying to keep the installation as standard as possible. More documentation about OctoPi can be found here. Files for printing replacement Pi 3B and Pi 4B cases can be found at the page bottom.
Maintenance
Due to the Octoprint installation on the printers, take extra care to make sure not only the main power cable is unplugged from the printer, but also the ethernet cable and the USB power cable connected to the Pi mounted to the back-upper-left corner of the printer when moving the printer around or out of the enclosure. Remember to reconnect these later.
Rebooting Procedure
In order to fully reboot the printer and the Octoprint server attached to it, power off the Pi at the back-upper-left of the printer by toggling it's inline power switch, and turn the printer off using the power switch on the power supply unit at the back of the printer. Then toggle the power supply unit switch back on, and then turn the Pi back on. The Octoprint page should be reachable in under one minute.
Because the Octoprint servers are now installed individually to each printer, it is safe to reboot a printer and Octoprint without disrupting the other printers in operation. This was not the case with the previous printers.
Resources
- User Manual
- Octoprint - Configuration and install
- Pi 4 Case with Prusa i3 Mounting
- Pi 3 Case with Prusa i3 Mounting
Maintenance
This tool is owned by Asmbly Makerspace for the use of its members. Please submit a problem report if maintenance is required.

