Prusa MK3S+
![]() Members must complete the Intro to Filament 3D Printing Class before using this tool
Members must complete the Intro to Filament 3D Printing Class before using this tool
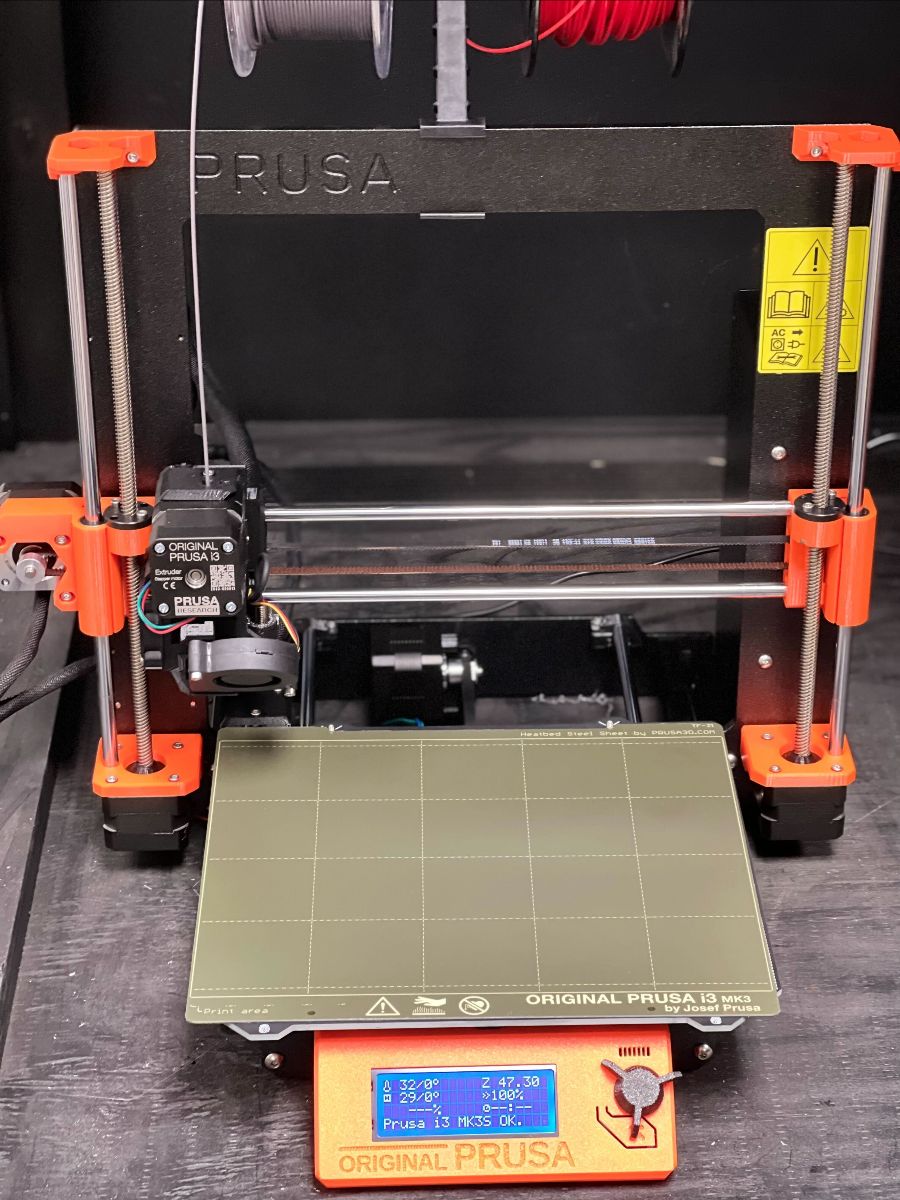
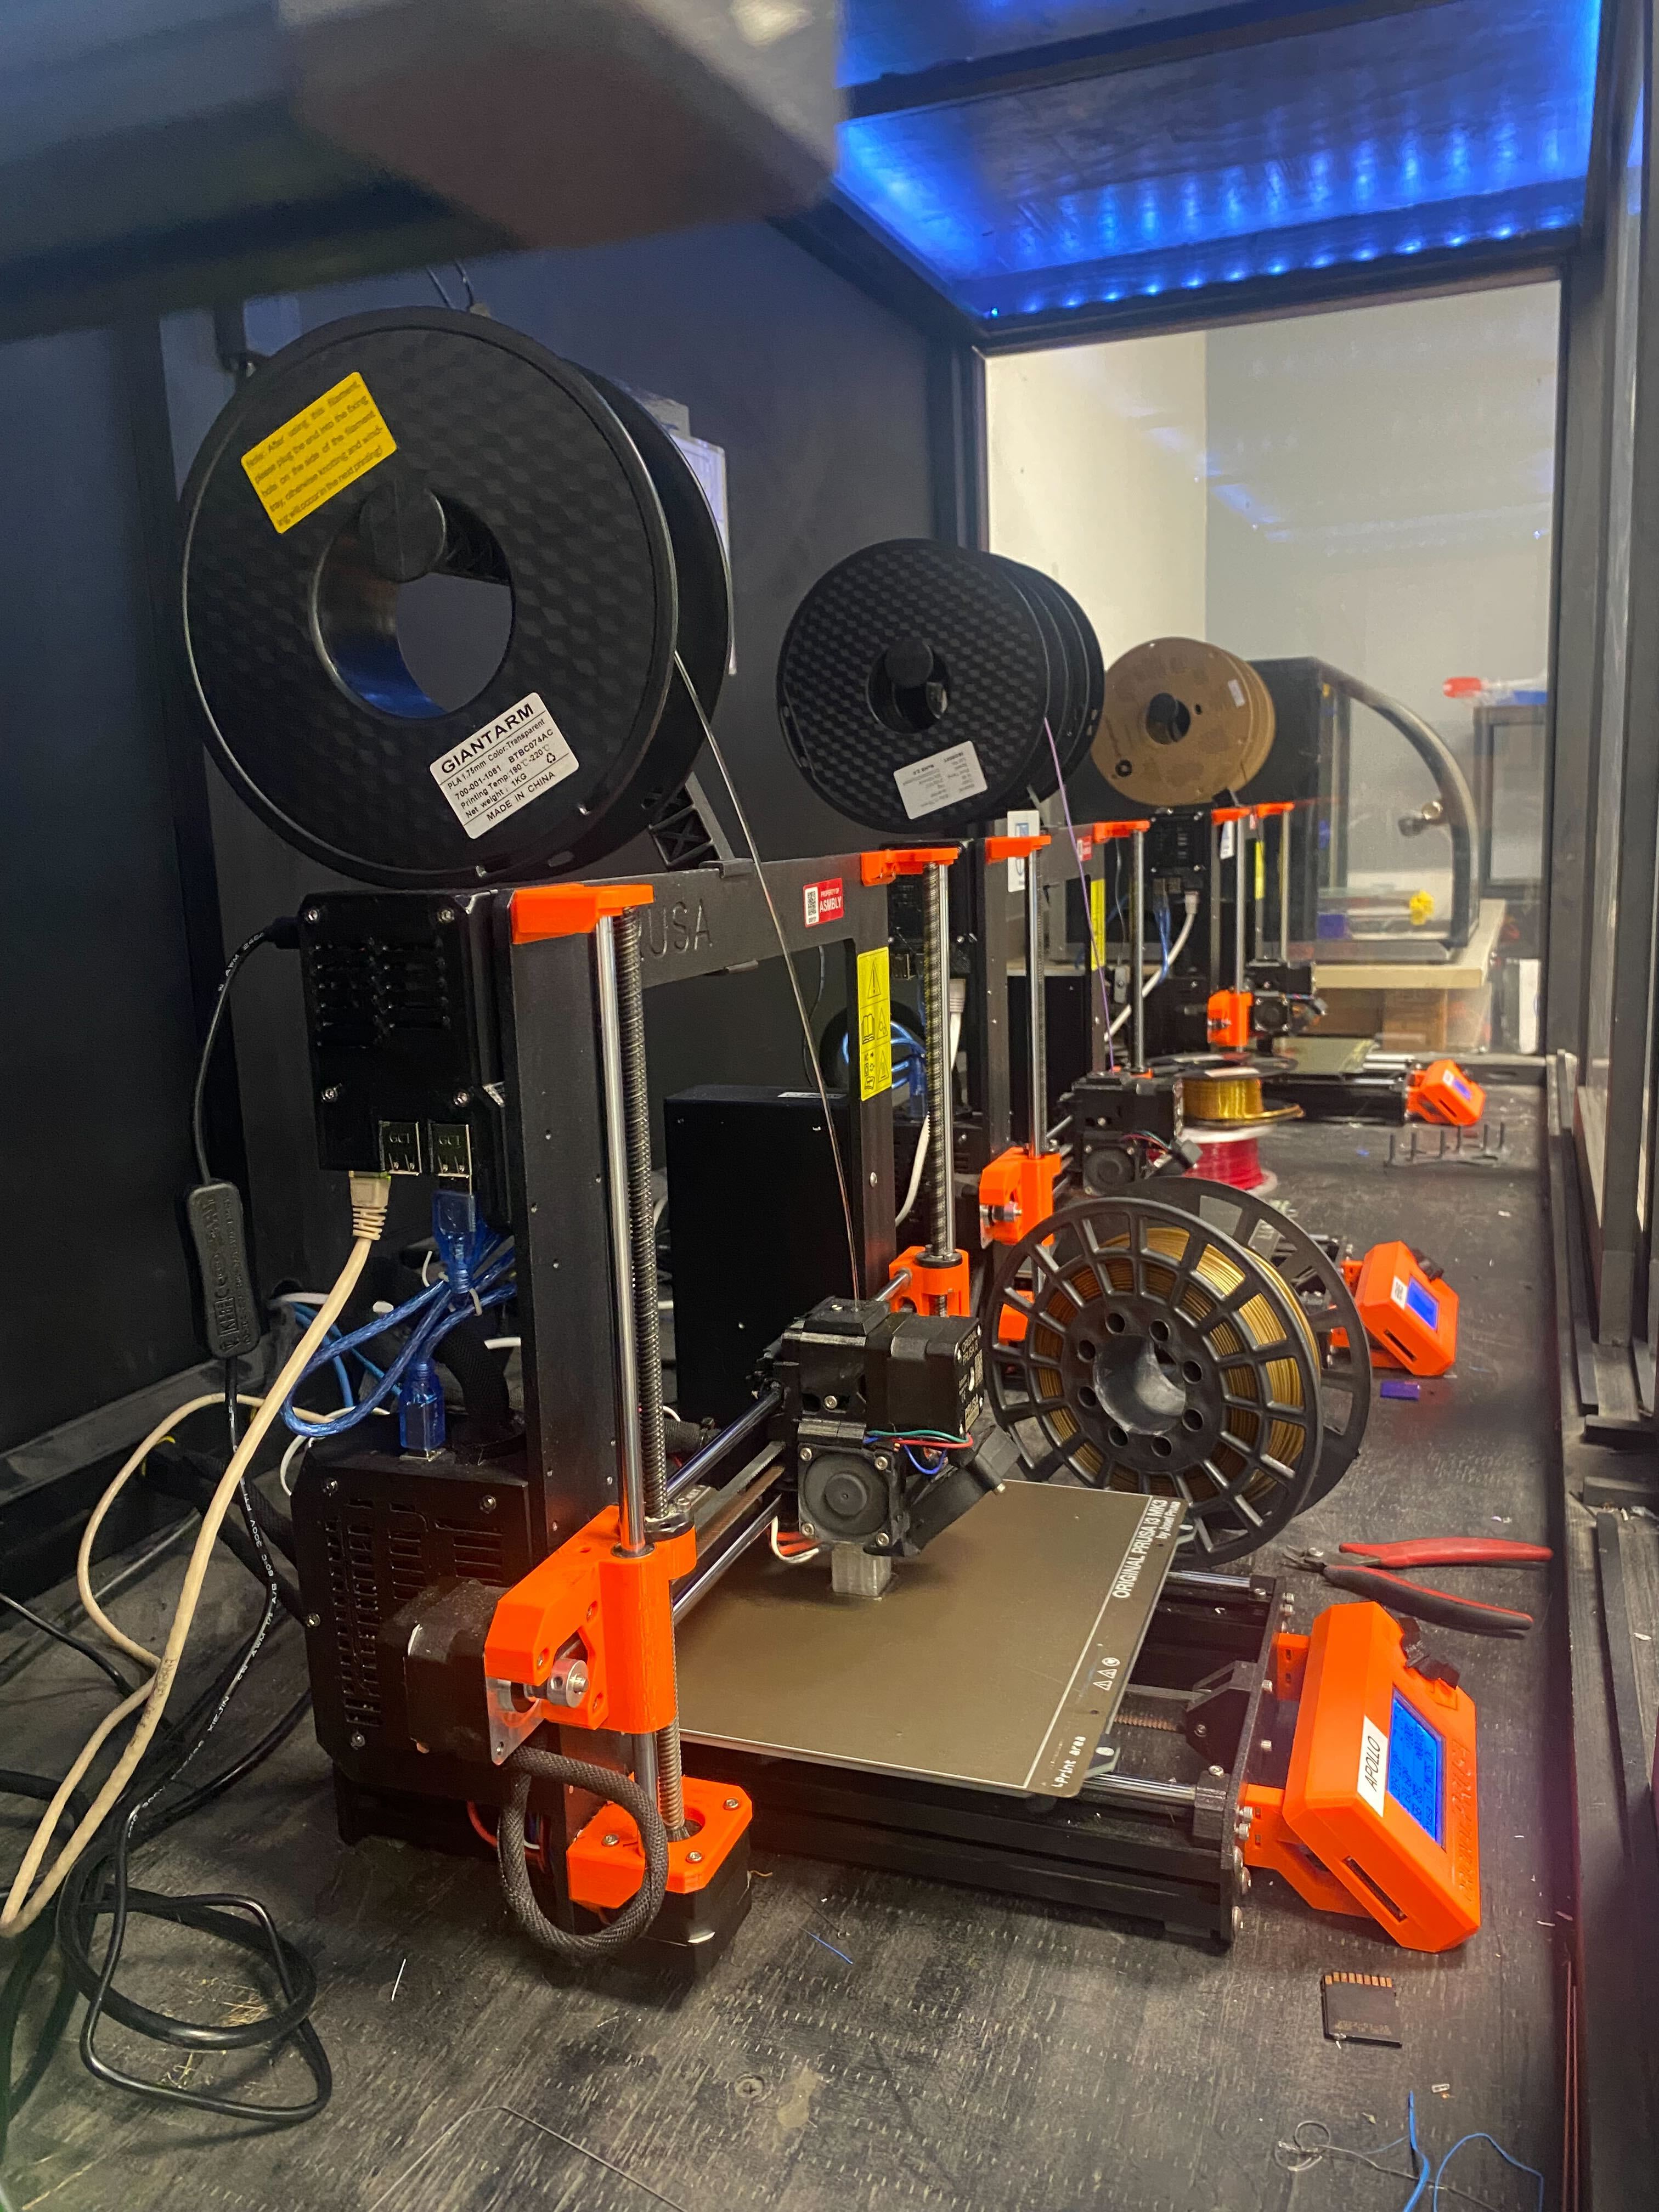
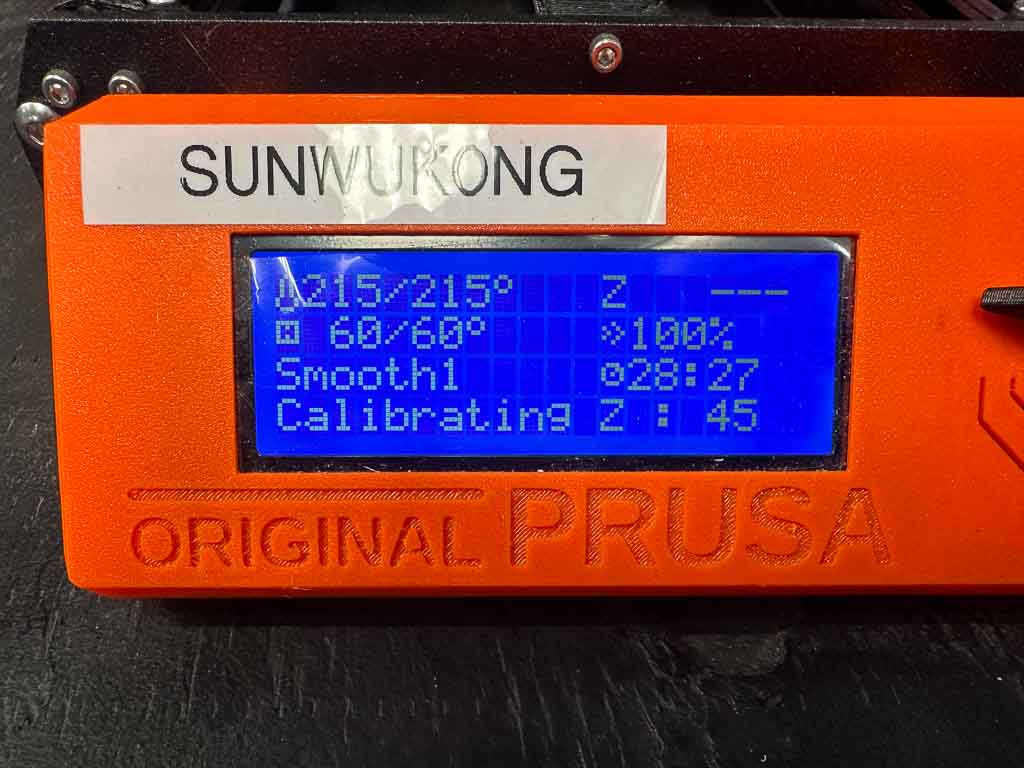
Asmbly has three Prusa i3 MK3S+ 3D Printers. In the Multi-Purpose Room, these are the three smaller machines in the large enclosure. The one on the left is named Apollo, and the middle is named Hermes, and the rightmost is Sunwukong.
|
|
|
Safety
Universal Safety
- Be aware of your surroundings, especially when handling large materials.
- Do not approach anyone operating equipment. Stand patiently in their field of view.
Equipment-Specific Safety
Intro to Filament 3D Printing Class is required to use this tool.
No special PPE is required to use this tool.
Booking Policies
- Time booked for 3D printing in Skedda does not count against your weekly Asmbly hours, but time on the XL is limited to 48 hours per week. If you want to print a large object that will take longer, book the first 48 hours and email 3dprinters@asmbly.org to request more time. If it's available, we'll try to book it for you.
- It is fine for a print to continue while Asmbly is closed.
- You may book up to two 3D printers at a time.
- Book all of the time you need. Only print during time that you have booked. Don’t start prints that will go beyond your booked time. If your print has been paused or stopped because of a problem, don’t resume or restart it if it will go beyond your booked time. If time is available after your booked time, feel free to book more time to finish your print. If another member has already booked time that your print would need to use, and you contact them and get their approval, you may finish your print. However, if you do not manage to contact them, or if they do not agree to let you continue, then do not start, resume, or restart prints that would go into their time.
- Time you book is yours. If you arrive for your booked time and a print is ongoing, you may stop that print. If a print only has a few minutes remaining, it would be nice if you let it finish, but you are not under an obligation to do so.
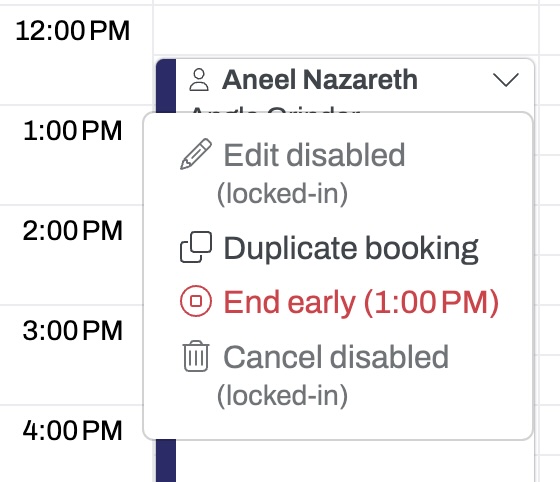
- Give back time that you don’t need. If you realize you’ll be late, change your booking to start when you’ll actually be ready to start. If your print ends early, end your booking early in Skedda.
- Don’t let time go to waste. There is a two hour grace period at the beginning of a booking. If the booker is not present after two hours and the printer is still idle, another member may claim the remainder of the time on a first-come, first-served basis. Email 3dprinters@asmbly.org to let us know that this happened. There is a 30 minute grace period after the completion of a print. If the booker is not present and the printer is idle, another member may claim the remainder of the time on a first-come, first-served basis. Email 3dprinters@asmbly.org to let us know that this happened.
Etiquette
If you come in for your scheduled time and a print has finished, feel free to move it and any filament on the machine to the table to the left of the enclosure.
If you are in the 3D printing area and see a print in progress that is obviously failing, it is a good idea to stop the print so that it stops wasting filament. Try to contact the person who has that printer booked in Skedda to let them know. Discourse is a good way to do that, if you don't already know them.
You may find a cut-off piece of filament still in the nozzle when you arrive. This is because the nozzle was cold when the previous user retrieved their filament and they didn't want to wait for it to heat up again. When you heat the nozzle for your own print, just unload the stub.
Use Case
The Prusa MK3S+ are good printers to produce small and medium sized objects using a single filament using many common filament types. The printer only uses one filament at a time, so if you want to print with multiple filaments, you will have to manually change filaments mid-print.
If you need to print larger things or to use multiple filaments without manually changing them, use the Prusa XL.
If you need to print in ABS, ASA, or other materials that print better enclosed, consider using the PolyPrinter 229.
Use Skedda to reserve time on the specific printer.
Materials
Acceptable Materials
Many types of 1.75mm filament will work with these printers. There is a pair of spool rollers if you have a spool that is too large to fit on the spool holder.
These printers have been equipped with abrasion-resistant ObXidian nozzles. This means that filaments that include additives like glow-in-the-dark (strontium aluminate), carbon fiber, glass fiber, wood, or metal are acceptable to use with these machines.
Material Limits
Print volume is 250mm x 210mm x 210mm (9.8" x 8.2" x 8.2")
Consumables
You are responsible for providing your own filament. There are many places to order from, including MatterHackers, Prusa, Polymaker, and Amazon. We are not currently aware of any place to buy filament locally, but if you know of one, we'd be interested!
There are some SD cards in the tool caddy, but if you find yourself printing from SD a lot consider bringing your own.
Asmbly provides a selection of Prusa steel sheets in three different textures: Textured, Satin, and Smooth. We don't have three of each, so it's possible that your preferred sheet will be in use when you want to print. Asmbly also provides cleaners for the sheets: Isopropyl Alcohol (usually in a squeeze bottle with the printer tools) and Dish Soap (in the coffee area just outside of the multi-purpose room.
Operation
Controls
Emergency Stop
If you see or hear something going terribly wrong with the printer, you can immediately stop it by pressing the X button below the dial control. This is equivalent to unplugging the printer and plugging it back in. Examples of situations where you would want to do this: the nozzle is contacting the steel plate, the printer is trying to move the head beyond its rails.
If you just need to stop a print, please press the dial control and select Stop Print. The X button sometimes causes the printer to lose some of its settings and need to be recalibrated, so avoid using it for things you can stop normally. But if you are in doubt, do use the X button.
Control Panel
Each printer has a control panel that can be used to do things like preheating the machine, loading and unloading filament, pausing/stopping a print, and starting a print from an SD card.
Octoprint
Each printer is also equipped with a dedicated Octoprint server:
Login information: The username is "User", and the password is the ASMBLY WiFi password (Look around the space for plaques that state this information, or find a steward).
Octoprint allows you connect from the Asmbly WiFi network with a web browser or an app and start/stop a print and monitor things like the current temperature. You can't access these machines from home, you must be physically present at Asmbly.
Because the Octoprint servers are now installed individually to each printer, it is safe to reboot a printer and Octoprint without disrupting the other printers in operation. This was not the case with the previous printers.
Stopping or Pausing a print
You can stop a print from either Octoprint or the control panel. If you stop or pause a print from Octoprint, it will not move the nozzle clear of your print. If you hope to resume, it is probably better to do this from the control panel.
Firmware Upgrade Warning
Ignore messages about a firmware upgrade warning- the printers had to be downgraded to Firmware 3.12 in order to use the Revo nozzles. We have not yet been able to get the newest firmware working with Revo (including the Revo specific firmware).
Settings and Adjustments
Filament
Make sure that your gcode is sliced for the particular kind of filament you're using. You can select the filament type on the control panel, and adjust the bed and nozzle temperatures.
Print Bed Sheet
Asmbly stewards will prioritize keeping the Prusa Satin sheets calibrated. You are welcome to use other sheets, but other sheets have different thicknesses, and you are responsible for calibrating the Z for your chosen sheets. To do this:
- Remove the Satin sheet from the printer
- Put your chosen sheet on the printer
- In the menus, select your chosen sheet. Use SMOOTH1 for the Prusa Smooth sheet, TEXTURED1 for the Prusa Textured sheet, and CUSTOM1 for other sheets
- Calibrate Z for your sheet
- Double check that you have the correct sheet selected. Please don't change the SATIN1 calibration if a different sheet is on the bed
- Use the First Layer Calibration tool in the printer's menus to run a quick calibration
- OR Calibrate the Z live using the Live Adjust Z menu item. You should find two gcode files on each of the SD cards for the printers named calibration_E and calibration_network which are single-layer prints designed to help you dial in the setting, but you can also do this during the first layer of your own print if first layer quality is not critical.
- If you find that you need to calibrate the Z beyond -2.000mm, please file a problem report. This indicates that the Z sensor needs to be adjusted.
To switch back to the Satin sheet:
- Remove the other sheet from the printer
- Put a Satin sheet on the printer
- In the menus, select SATIN1. This setting should be properly calibrated.
- If you get bad first layers (see First Layer Calibration to see what that looks like), follow the calibration instructions above or file a Problem Report
You will find various sheets in the top drawer of the black cabinet to the right of the enclosure for the Prusa printers:
- Textured Powder-coated Steel Sheet
- Satin Powder-coated Steel Sheet
- Smooth PEI Steel Sheet
- TheKKIINNGG Textured Sheet
Nozzles / Hotend
All three Prusa i3 mk3s+ printers have been upgraded with the E3D Revo hotend (from the stock E3D V6). They are all equipped with the 0.4mm abrasion-resistance ObXidian nozzles. Please do not change the nozzles. We upgraded to the Revo to improve ease of maintenance and reliability of the printers, but do not currently have a system to support nozzle size changes.
Cleanup
Universal Cleaning Guide
- Return the equipment to neutral.
- Sweep up any dust and debris around the tool, your table top, and the floor - both in the equipment area and your work area.
- Clear the floor of any tripping hazards, like power cords.
- Empty trash cans and dust collectors that are halfway full or more into the Asmbly dumpster behind the workshop.
- Leave the shop 110% better than you found it.
Tool Specific Cleaning Guide
- Remove any scraps of filament from the enclosure
- Return any tools you used to the tool caddy
- Make sure the steel sheet you used is clear of any leftover filament
Resources
Manual
- User Manual
- PrusaSlicer
- 3D Filament Temperature Tower - Fine tune your temperature settings for a particular filament
Discourse Links
External Resources
Places to find models to print:
- STLFinder
- Thingiverse
- Printables
- Yeggi
- Buy from makers on Etsy
- MyMiniFactory for DnD miniatures
Places to buy filament:
Troubleshooting
Common Problems
Model not sticking to the sheet
If you are having trouble with getting your first layer to stick properly try these:
- Double check that the printer is configured for the right sheet
- Clean the cool sheet with Isopropyl Alcohol (in a squeeze bottle with the other tools)
- Wash the sheet with dish soap at the coffee area sink. Make sure the sheet is completely dry before reinstalling it.
- Adjust the Z calibration. You can do this by going through the
Calibration > First Layer Calibrationprocess on the control panel (Section 6.3.9 of the handbook). You can also adjust it live while your first layer prints (Press the control wheel while printing, selectLive adjust Z). If you find that you need to set a Z value beyond -2.000mm, please file a problem report. You can continue your print, but this indicates that the Z sensor needs to be adjusted. - Contact a steward
Nozzle has plastic stuck to it
This often happens as a result of the model not sticking to the sheet, and causes problems when you try again.
- Use
Settings > Move axis > Move Zto raise the nozzle so you can see under it - Touch some cool plastic to the still-hot plastic on the nozzle. It should stick and let you pull the mess away
- Heat the nozzle above the printing temperature for your filament, for example, try 250° for PLA, which normally prints around 215°. Wait for the nozzle to heat up and let the melted plastic drip off of the nozzle
- Use the tweezers from the tool caddy to grab larger lumps
- Use the soft-bristled brush in the tool caddy to wipe the warm nozzle
Other
If you are unsure, it is always best to contact a steward and fill out a problem report
Maintenance
The information below is primarily for stewards.
Regular Maintenance
The lead screws should be cleaned and lubricated regularly. This video provides a good walkthrough: How To Service Your Prusa i3 MK3
Octoprint
Octoprint - Configuration and install
The Octoprint configuration is the standard OctoPi installation, consisting of the Raspberry Pi 3 or 4 being attached to the back of the printer frame, connected via USB to the printer and via Ethernet to the ASMBLY network (WiFi connection from the Pi to the network is currently unstable), with the OctoPi 1.0.0 (build 2023.10.09.151442) stable image installed on the Pi. In an attempt to keep the printers as easily serviced and maintained, we are trying to keep the installation as standard as possible. More documentation about OctoPi can be found here. Files for printing replacement Pi 3B and Pi 4B cases can be found here:
Moving the printers
Due to the Octoprint installation on the printers, take extra care to make sure not only the main power cable is unplugged from the printer, but also the ethernet cable and the USB power cable connected to the Pi mounted to the back-upper-left corner of the printer when moving the printer around or out of the enclosure. Remember to reconnect these later.
Rebooting Procedure
In order to fully reboot the printer and the Octoprint server attached to it, power off the Pi at the back-upper-left of the printer by toggling its inline power switch, and turn the printer off using the power switch on the power supply unit at the back of the printer. Then toggle the power supply unit switch back on, and then turn the Pi back on. The Octoprint page should be reachable in under one minute.
Z Problems
Note: z-height adjustments are given with negative numbers, so -1.500 is "lower" than -1.200.
Your print's first layer should be smooth and even. If it's not, the Z probably needs to be fine tuned. Try this:
- Make sure the printer knows which sheet is on the bed. Different sheets have different calibrations
- Run through the
Calibration > First Layer Calibrationprocess on the control panel (Section 6.3.9 of the handbook) - If you have trouble calibrating Z using just the First Layer Calibration, or you want to check the calibration, these models have been useful. They may already be on the printer in a directory named Calibration. If not, create that directory and/or add these files.
- If you have to set the Z further out than -2.000mm, the Z sensor probably needs to be adjusted. See 6.3.10.2 of the handbook
- The proper height for the sensor is about 1mm. There may be some zip ties around that can help provide a guide, but be sure to measure them with calipers. Some of the zip ties around are too flat.
- If you move the Z sensor, do a Z Calibration, then calibrate the first layer again. You'll need to do this for all three sheet types, Textured, Satin, and Smooth.
