Maker's Mark
Description
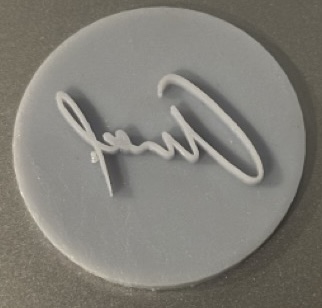
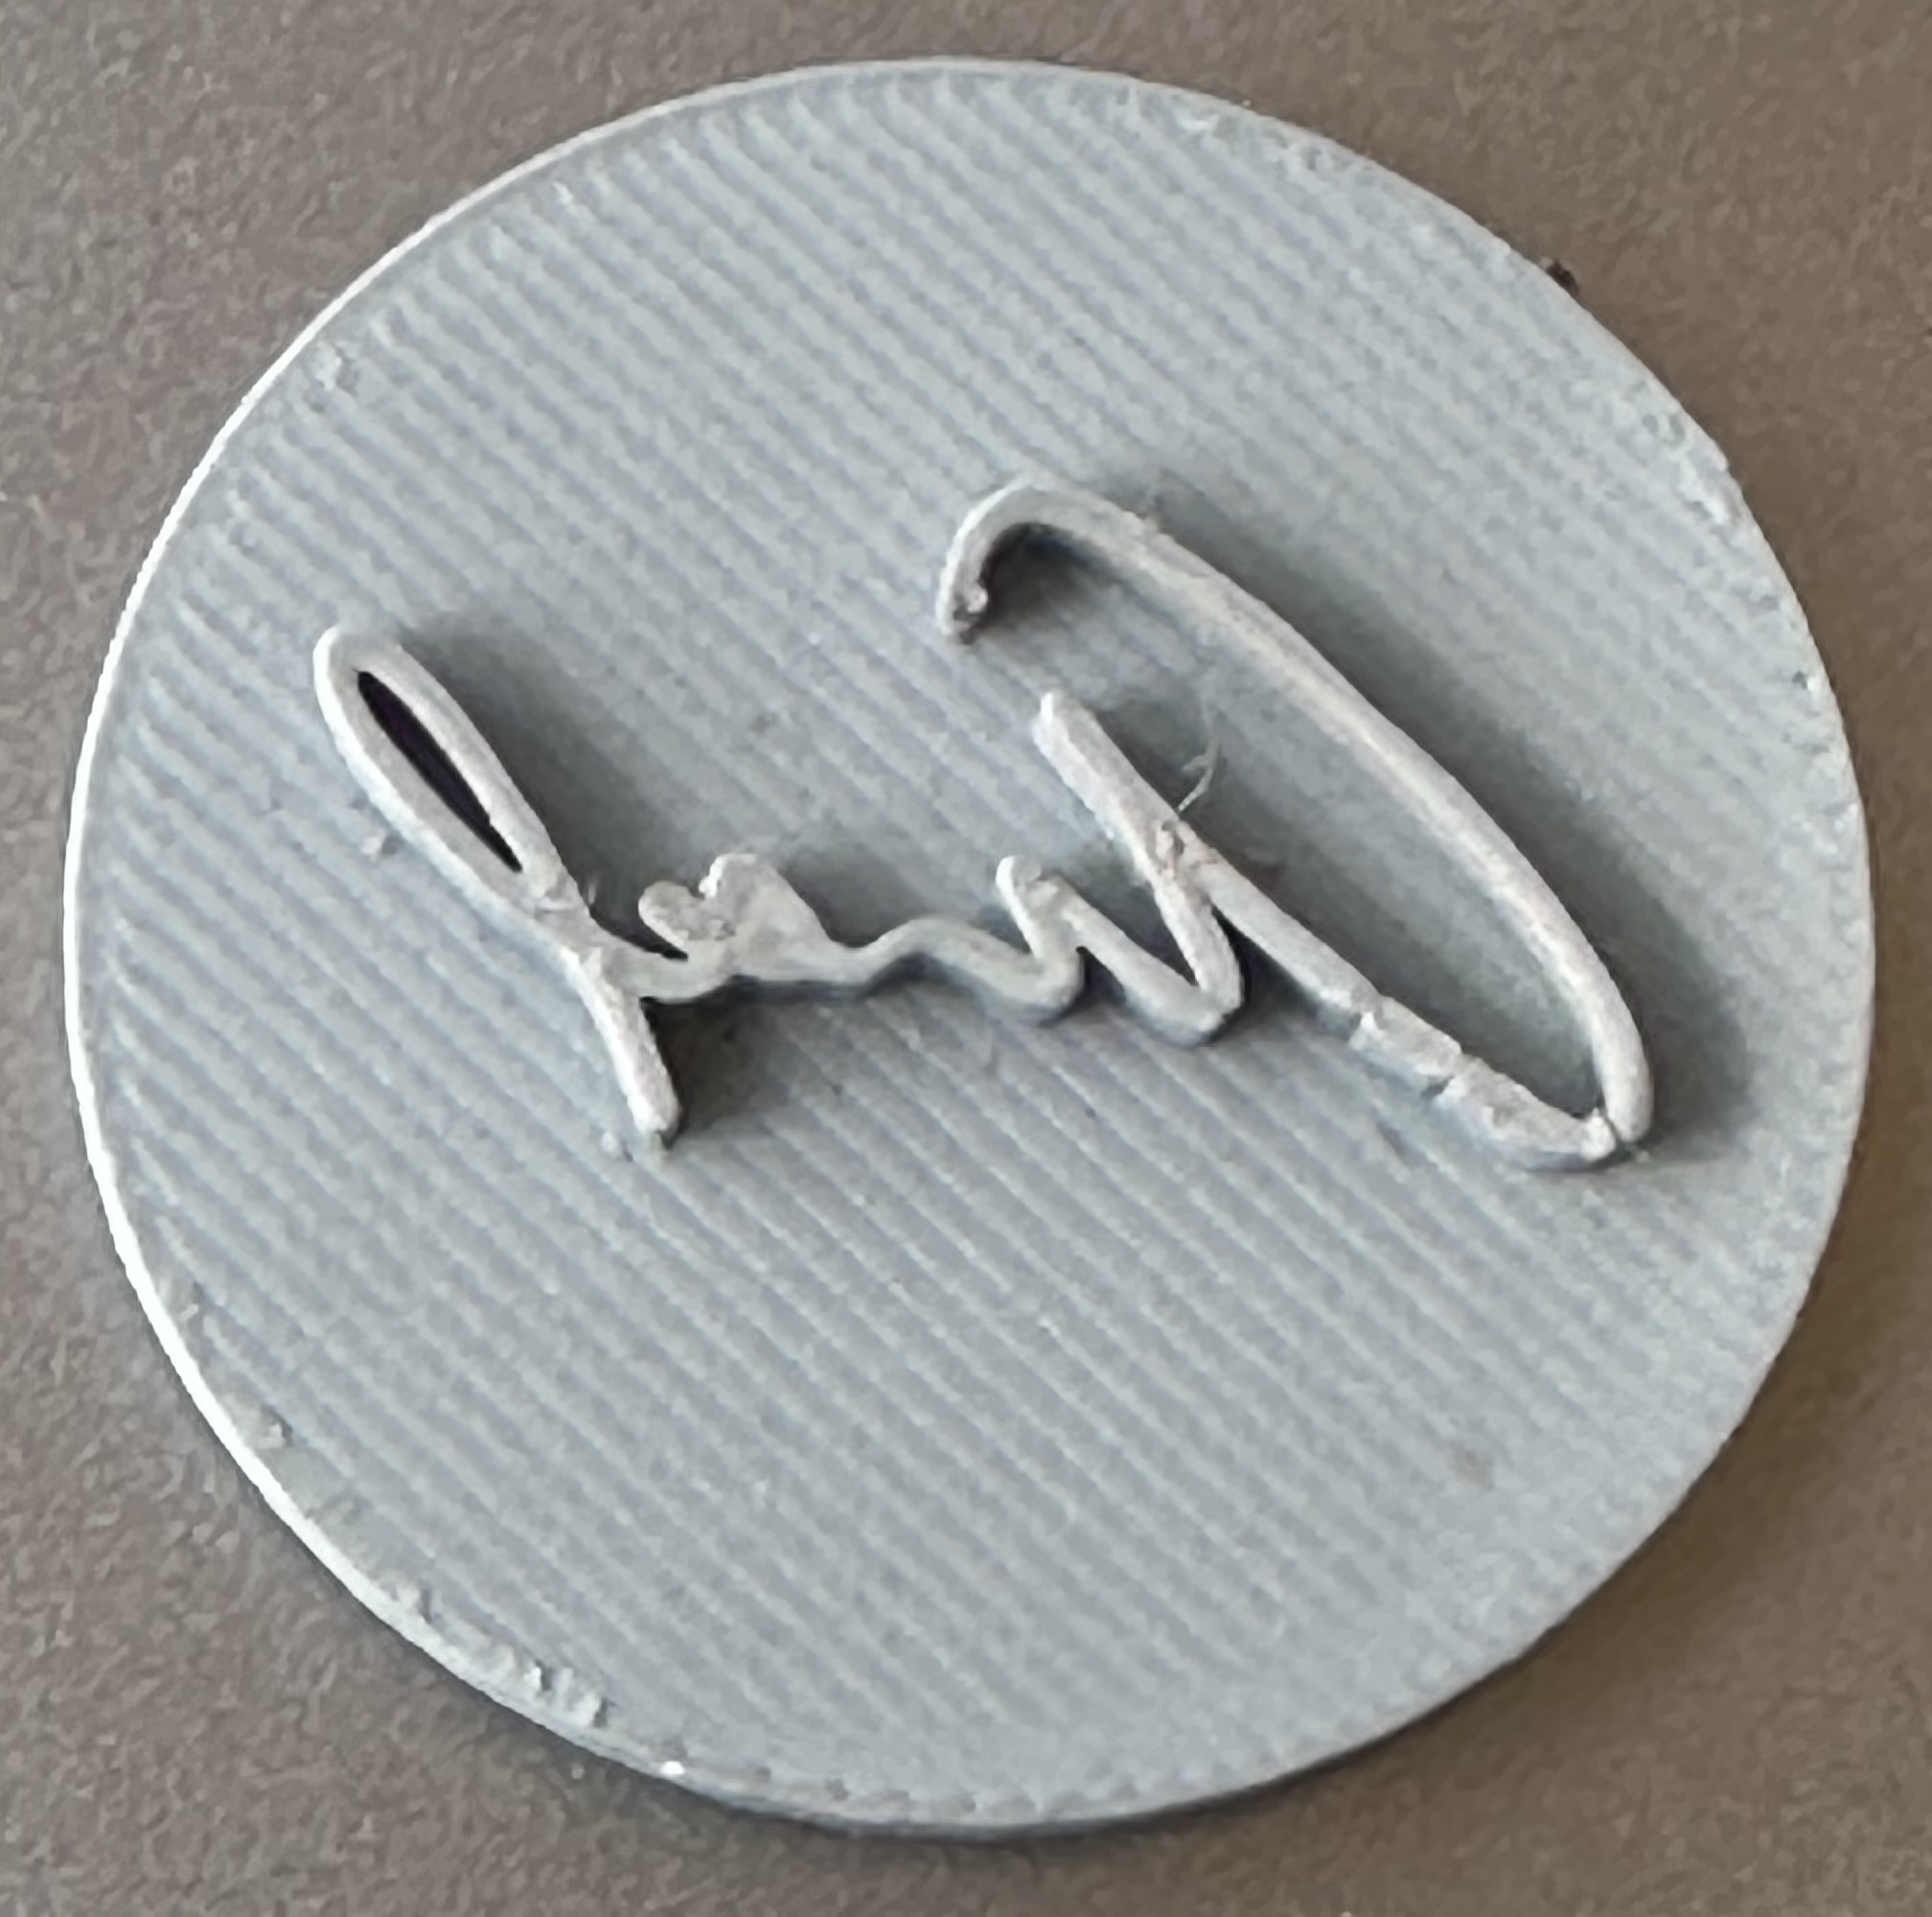
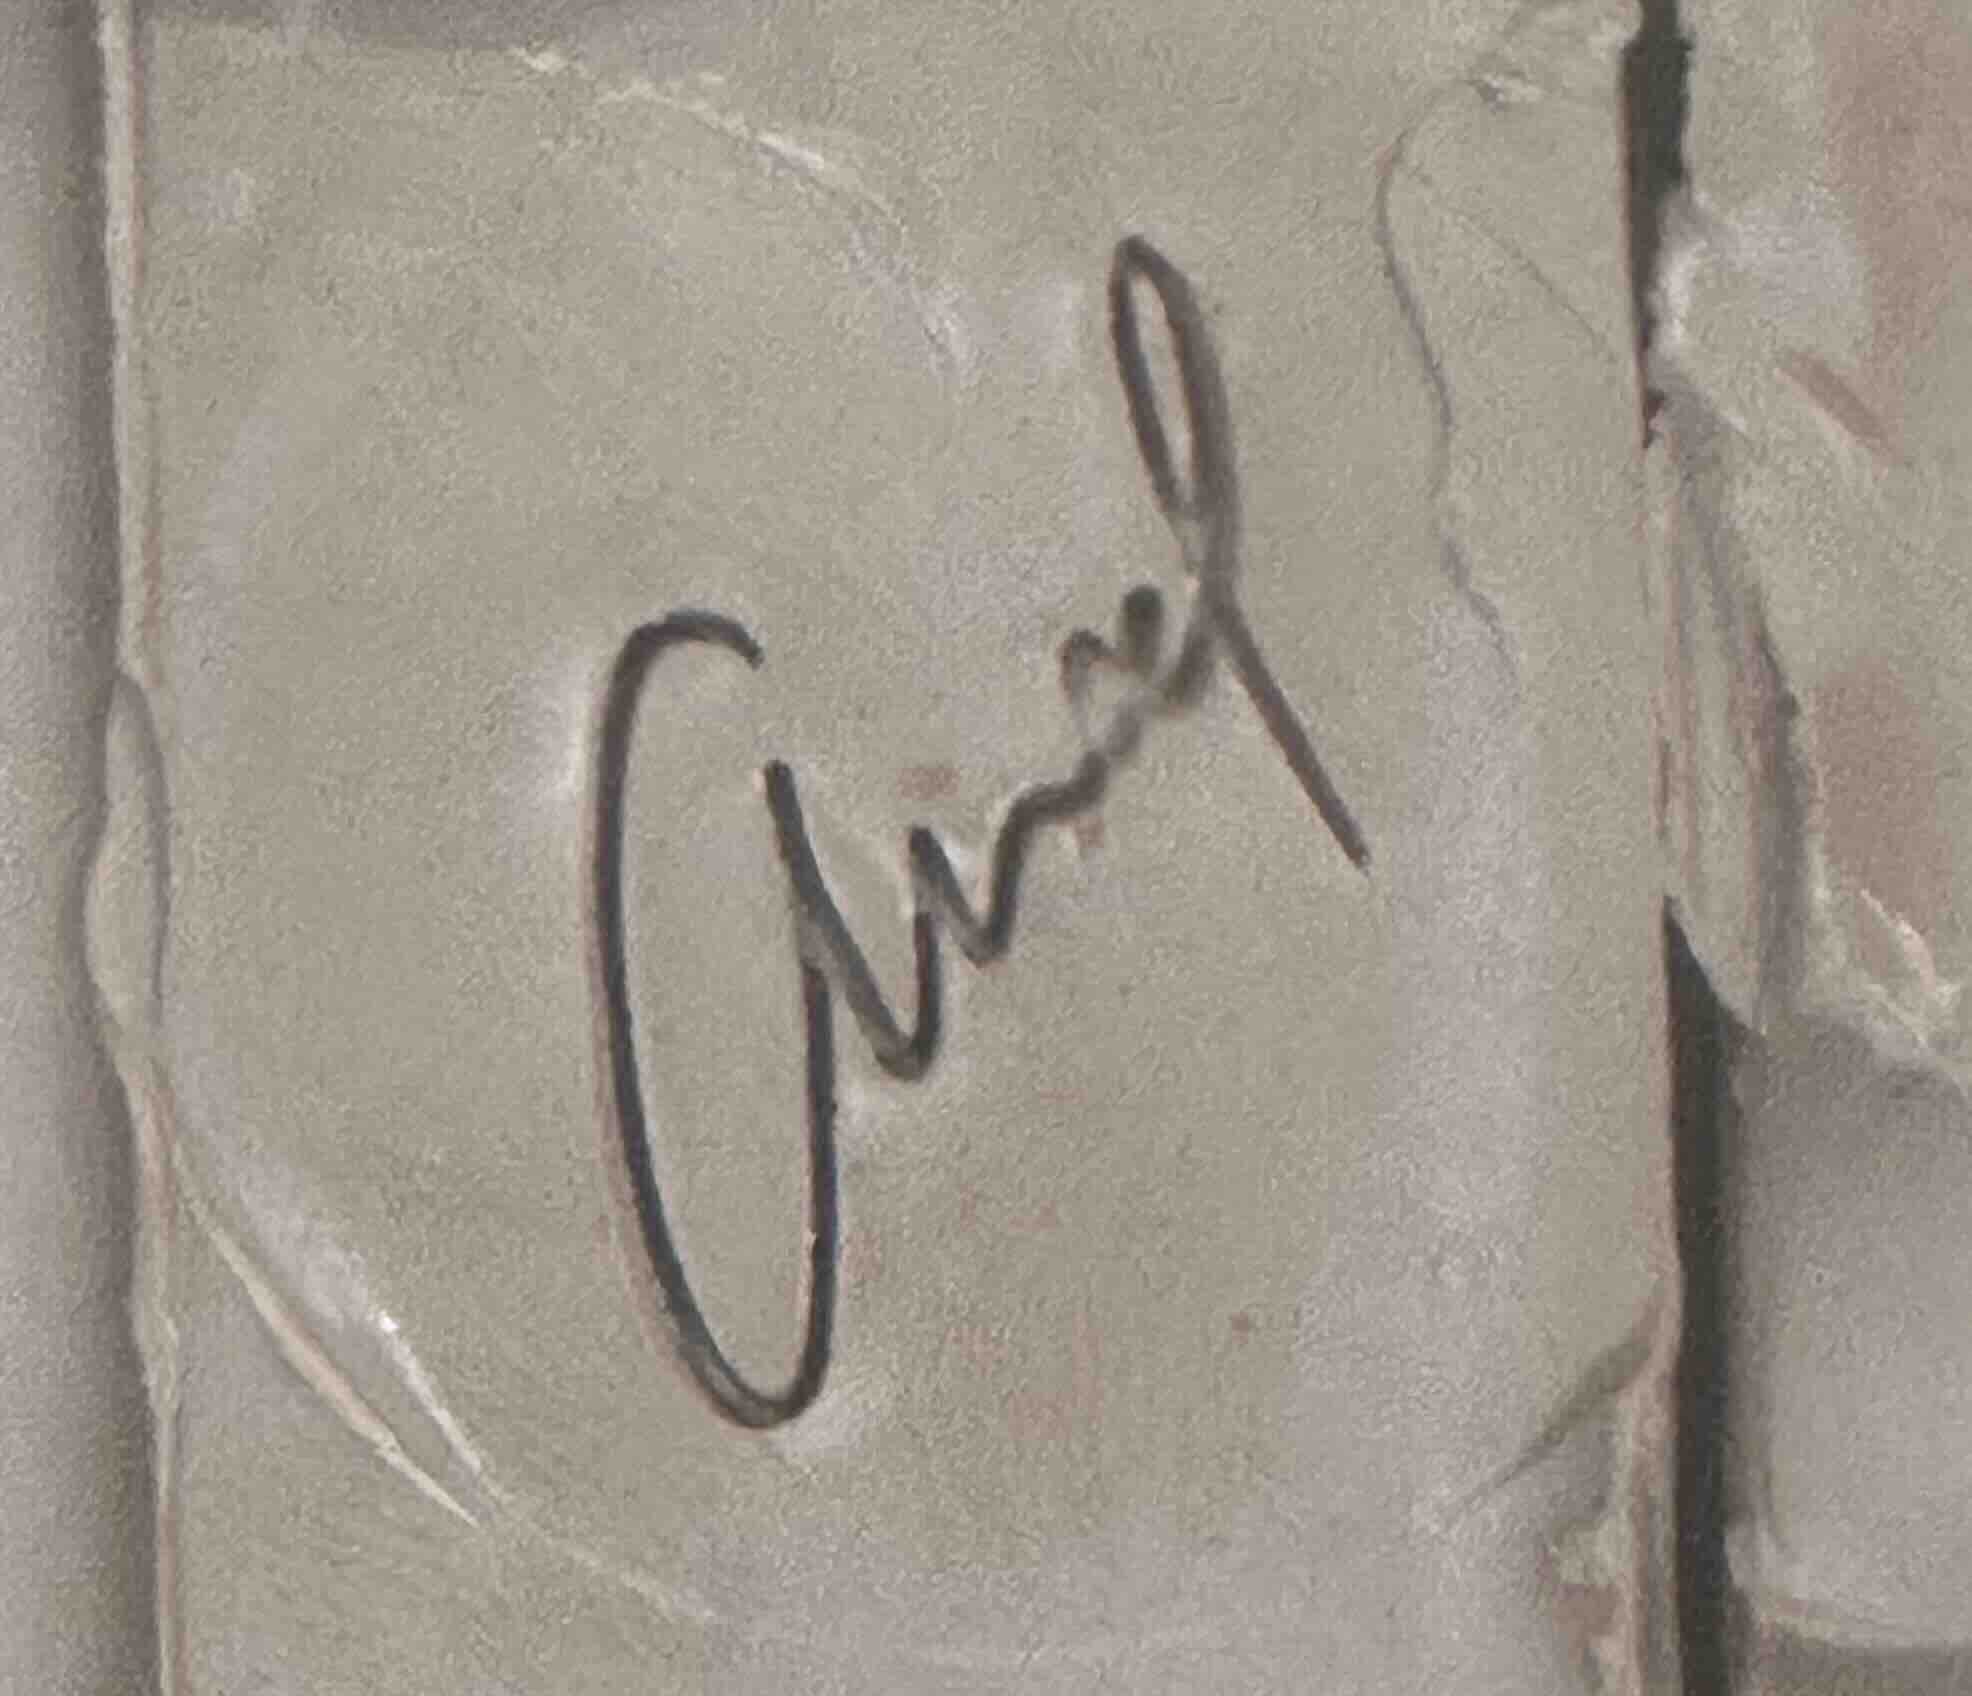
3D print a custom stamp. This project focuses on Maker's Marks for stamping a signature into clay, but the basic process can be used for other kinds of stamps, for example for ink or leather.
Design
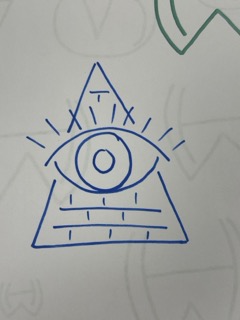
The first question is: what should your stamp look like? The design is up to you. From experience, clay takes fairly thin lines well, and wider lines poorly. It's hard to get a good impression if the design creates many small, disconnected parts.
| Better | Worse |
|---|---|
Resin or Filament?
The process described below will work for both Resin (SLA) and Filament (FDM) 3D Printers. Which should you choose? For fine details, you probably want Resin, but for simpler designs, Filament might be fine.
| Resin | Filament |
|---|---|
Starting from a paper sketch
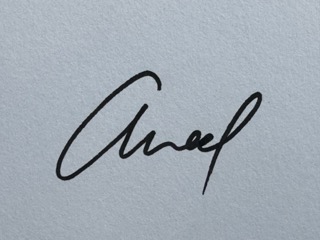
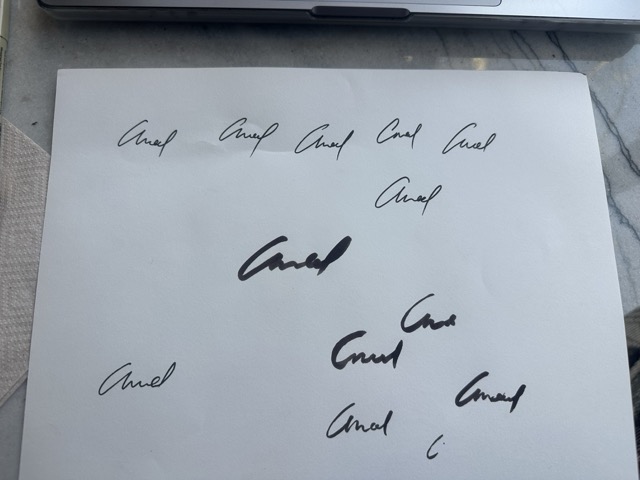
Sketch your image until you like it or until it stops looking like anything at all.
Let's assume you have a drawing on paper that you want to make into a stamp. The first step is to take a picture of the image. A phone camera is more than adequate for this. That produces...
Starting from a bitmap image
If you have a photo or a bitmap source (eg. a JPEG or PNG file), you'll need to convert it to a vector.
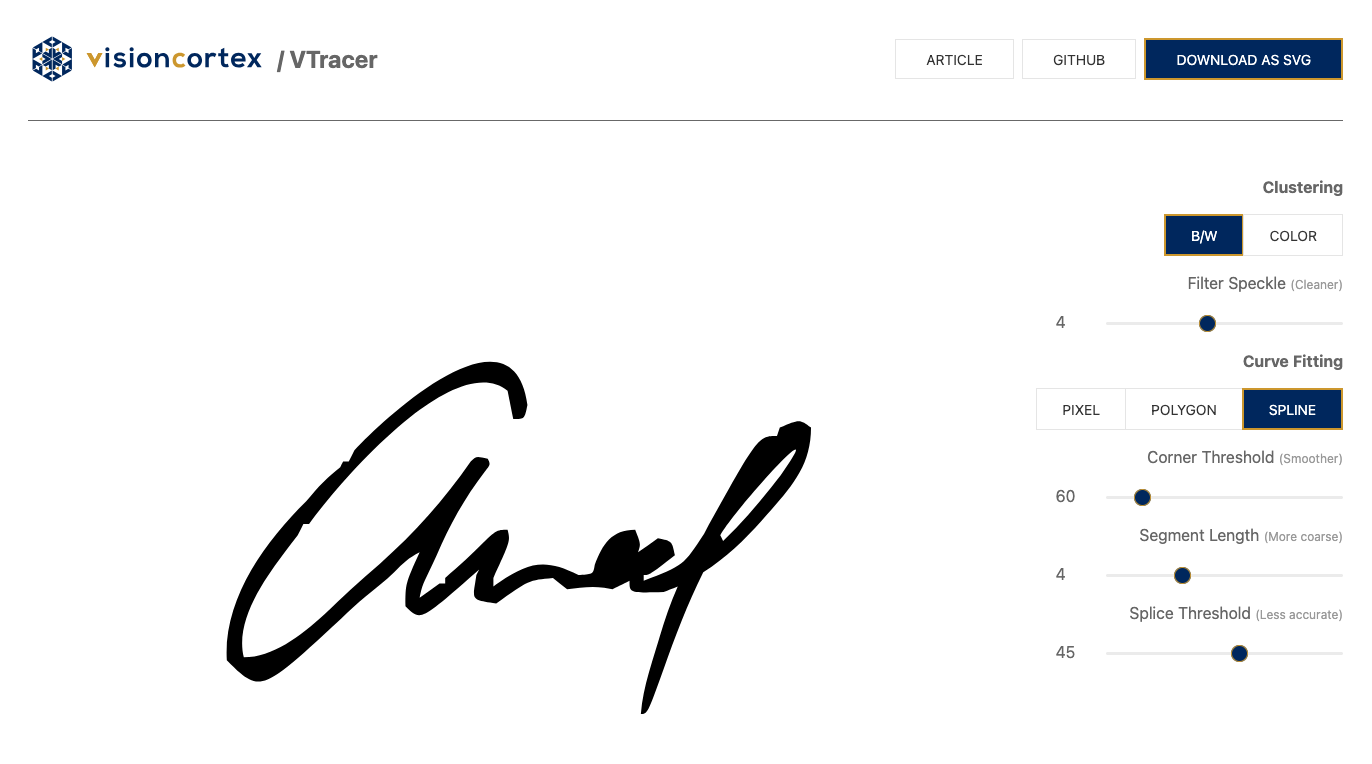
vTracer
There are some tools that will let you try to vectorize a bitmap image with minimal prep work.
Try uploading your image vTracer and see if it does a good job.
If this doesn't give you good results, use your favorite image-editing software to isolate just the part you want. Try to increase the contrast to clean up image until it is good black-and-white line art.
If you don't have favorite image-editing software, you can use something like the ad-supported PhotoPea
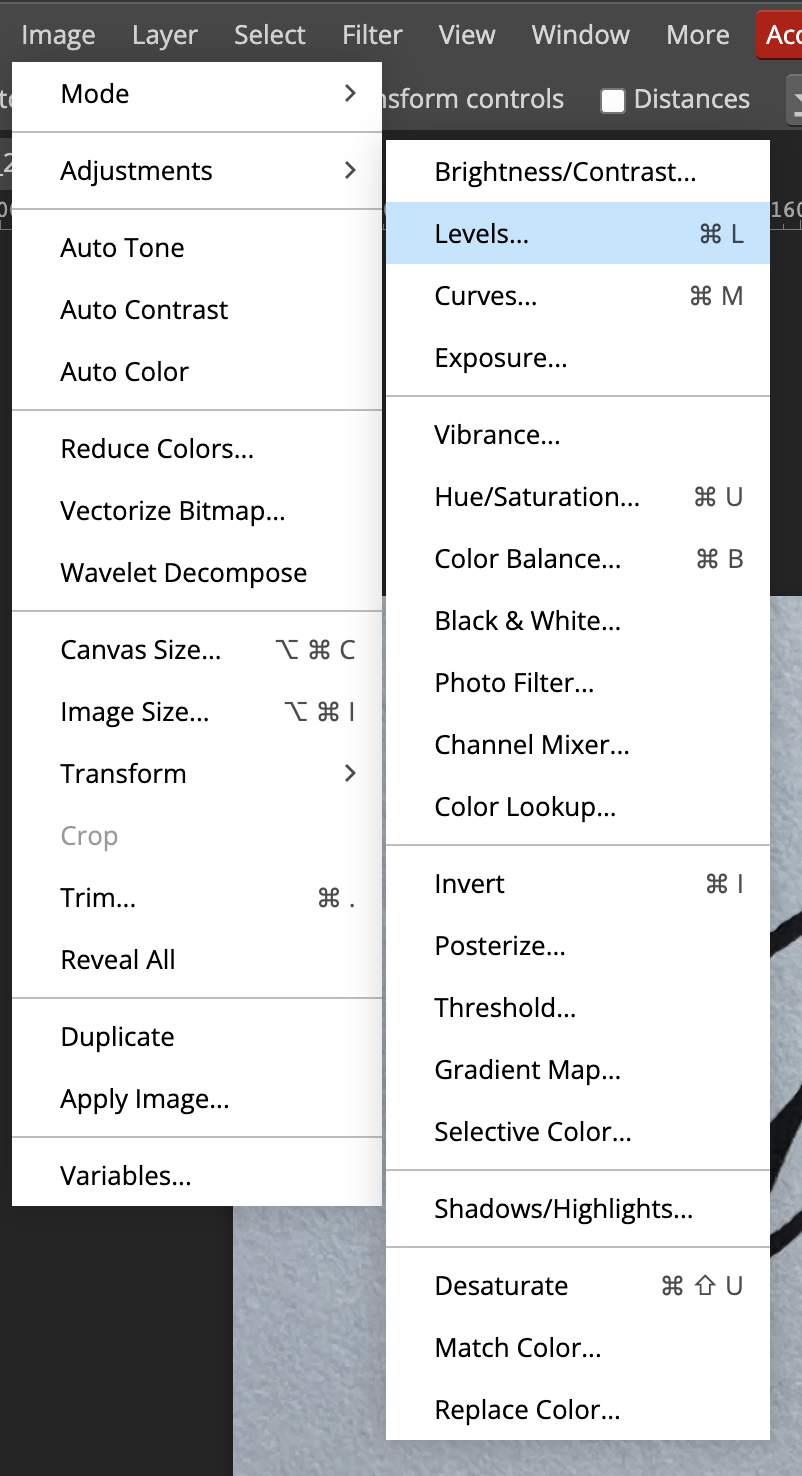
PhotoPea: Using the Levels command
Many image editing programs have a Levels command that lets you adjust the brightness/darkness of an image. Other commands that might be useful are Contrast or Curves.
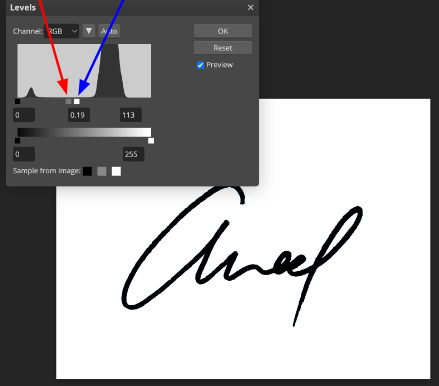
The Levels command shows you a histogram of the brightness of the pixels in your image. It lets you move around three controls, the Black Point, Gray Point, and White point. Anything to the left of the Black Point will be mapped to pure black. Anything to the right of the White point will be mapped to pure white. The Gray Point lets you control the brightness of values in the middle.
You want to move the White Point so that all of the paper texture, extraneous shadows, and so forth are changed to pure white. You want to move the Gray Point to pretty close to the white point because we want this to be Black & White.
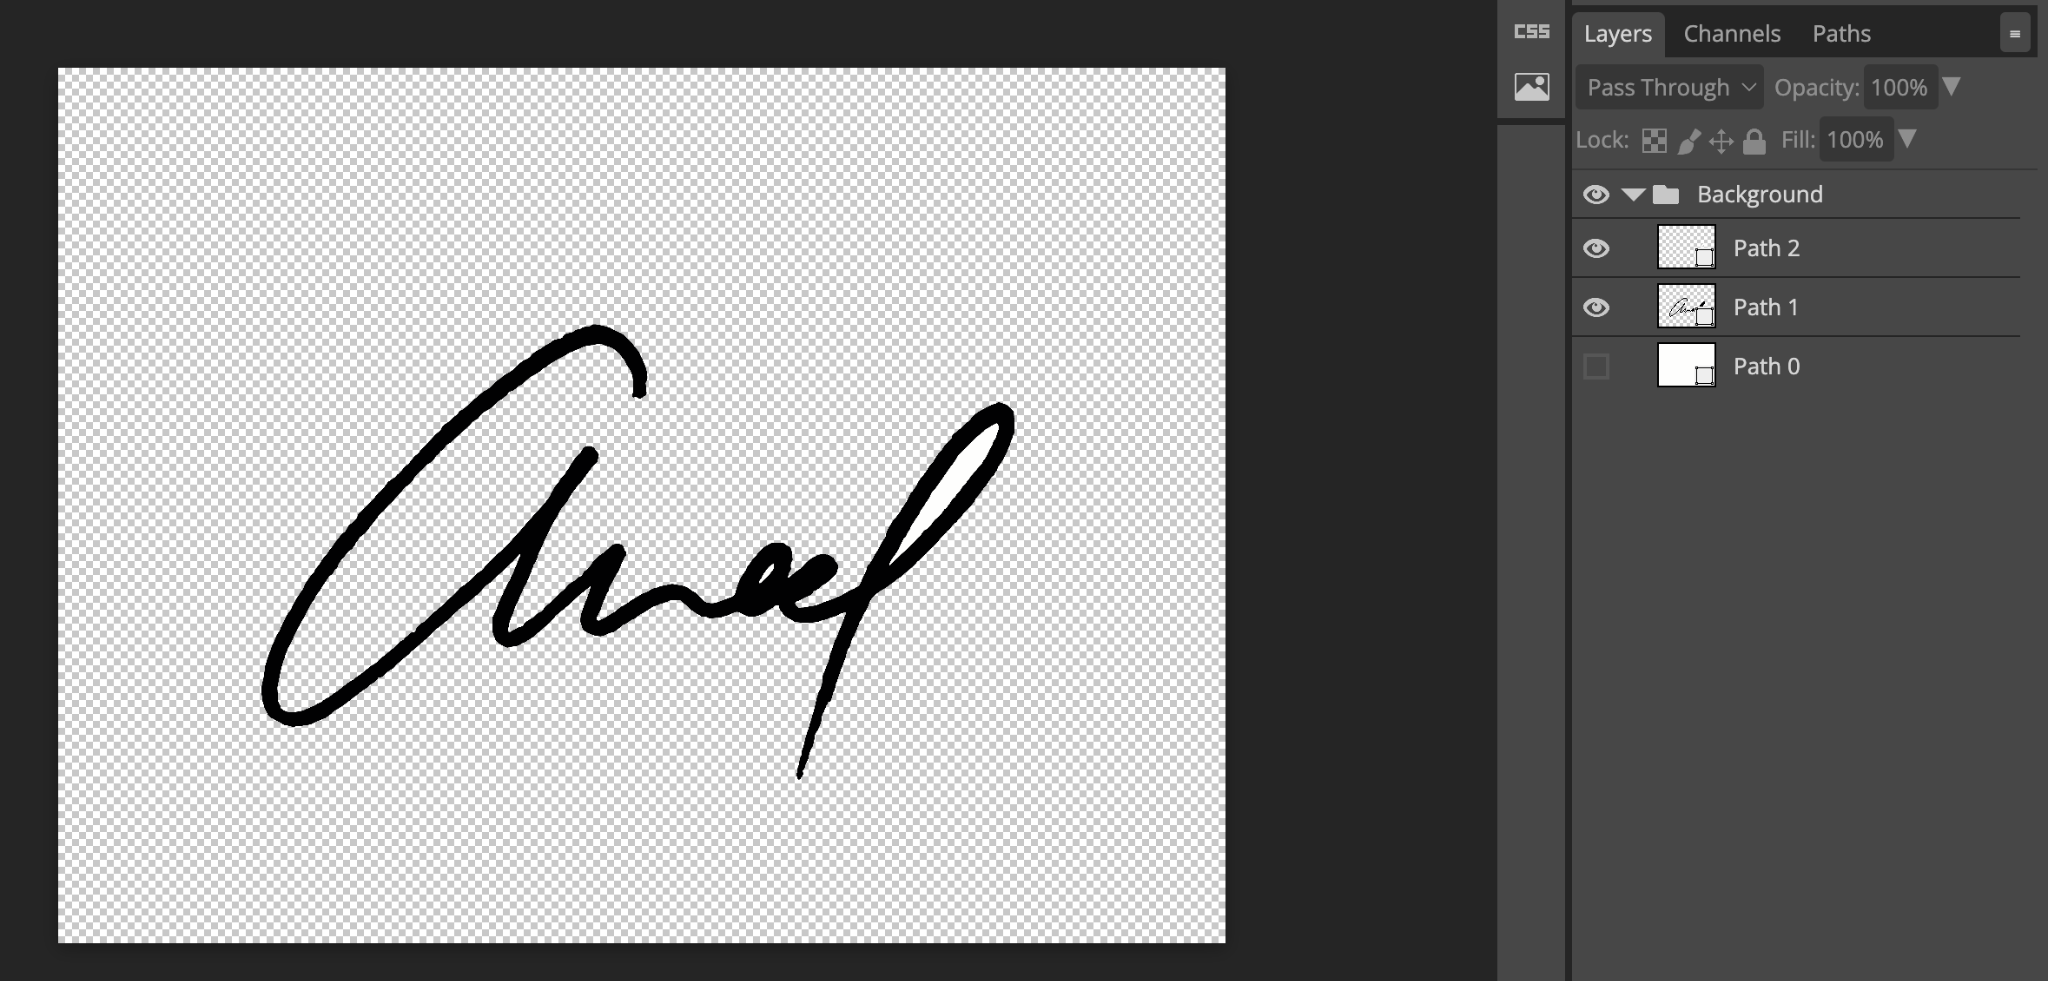
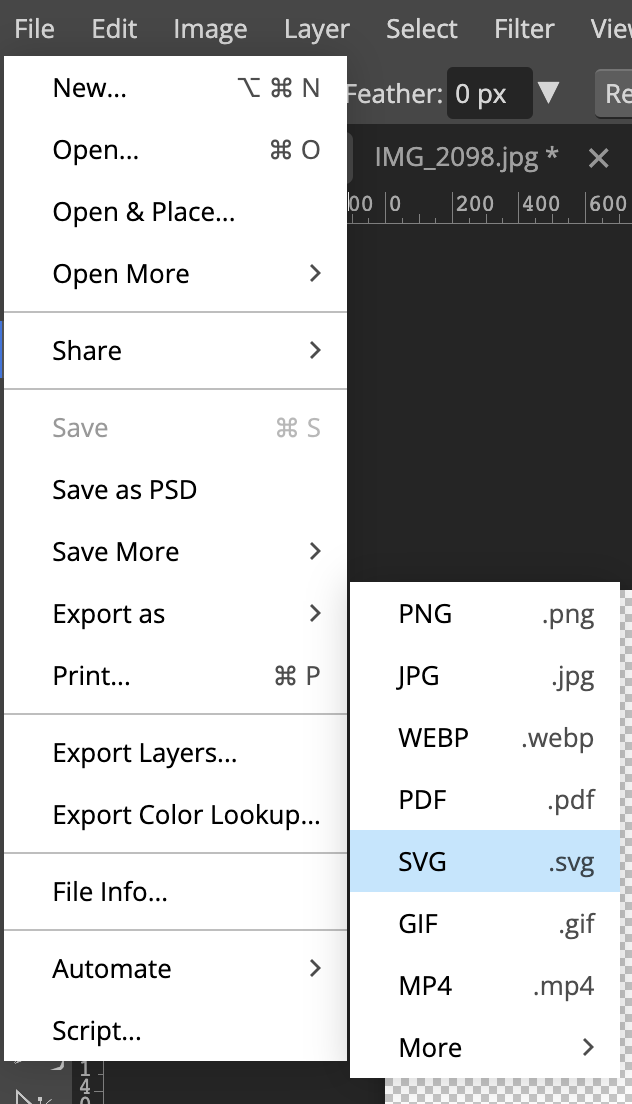
PhotoPea: Creating a Vector Image (SVG)
Many image-editing programs have a "Trace" or "Vectorize" command (thought *not* Affinity Designer 2).
Starting from an SVG
Stamp Maker
There are tools that can take an SVG or some text and generate a stamp for you directly.
For example, Stamp Maker on MakerWorld.
This works great for text and might work for simpler SVGs. I haven't had much luck with complex SVGs, but I haven't tried very hard.
The next step up the difficulty curve is Tinkercad. After logging in, click the + Create button to start a new design.
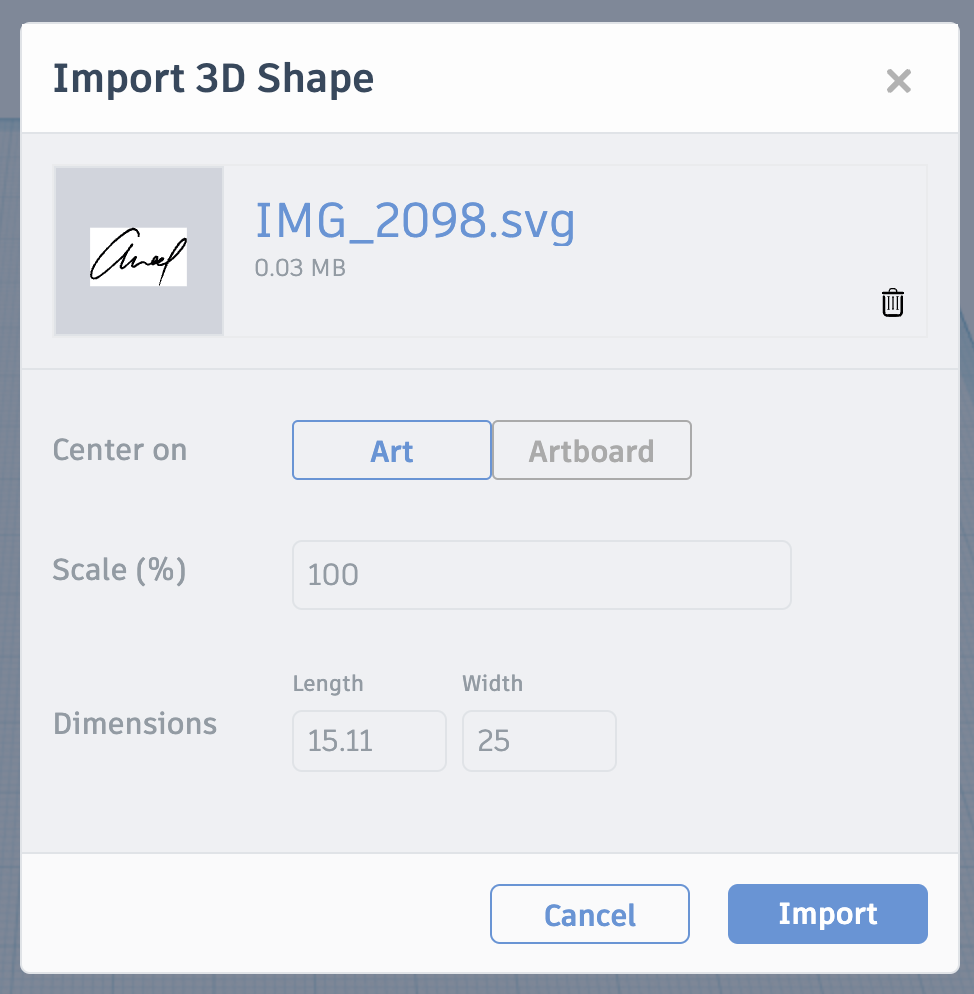
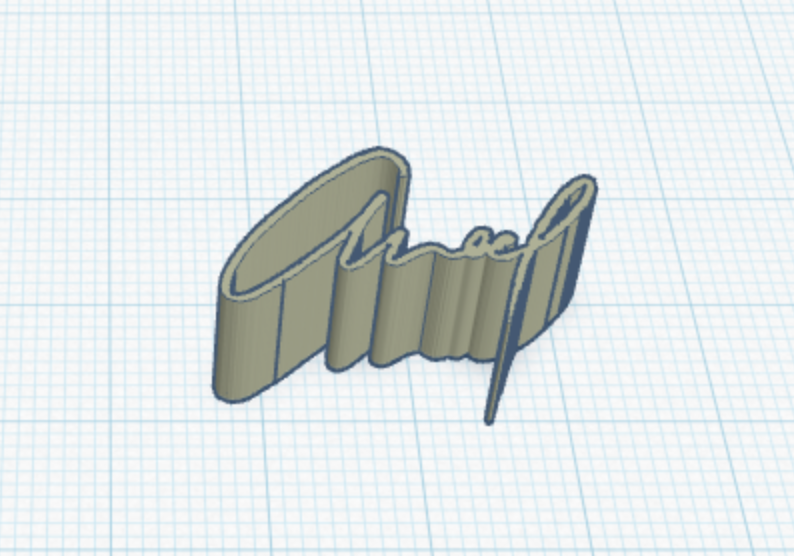
Tinkercad: Importing your SVG
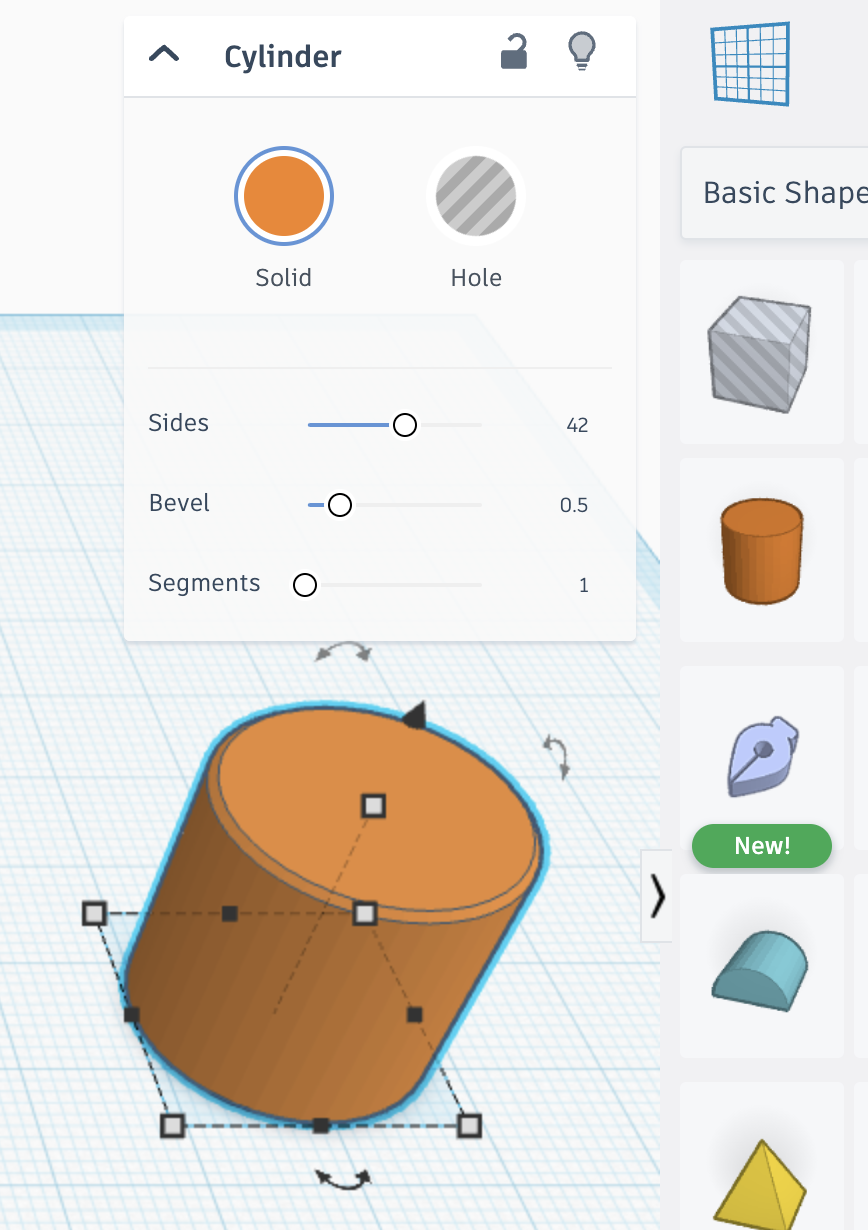
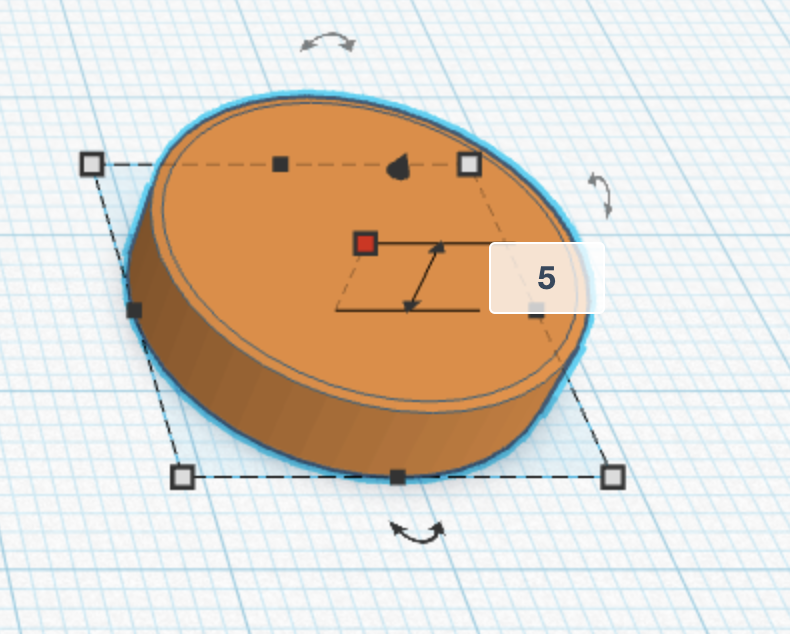
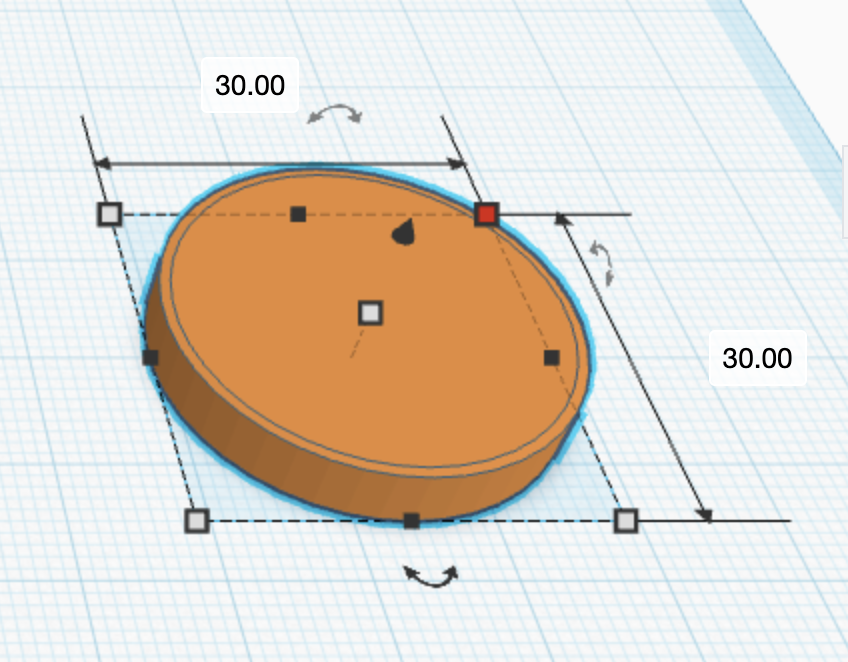
Tinkercad: Making a base
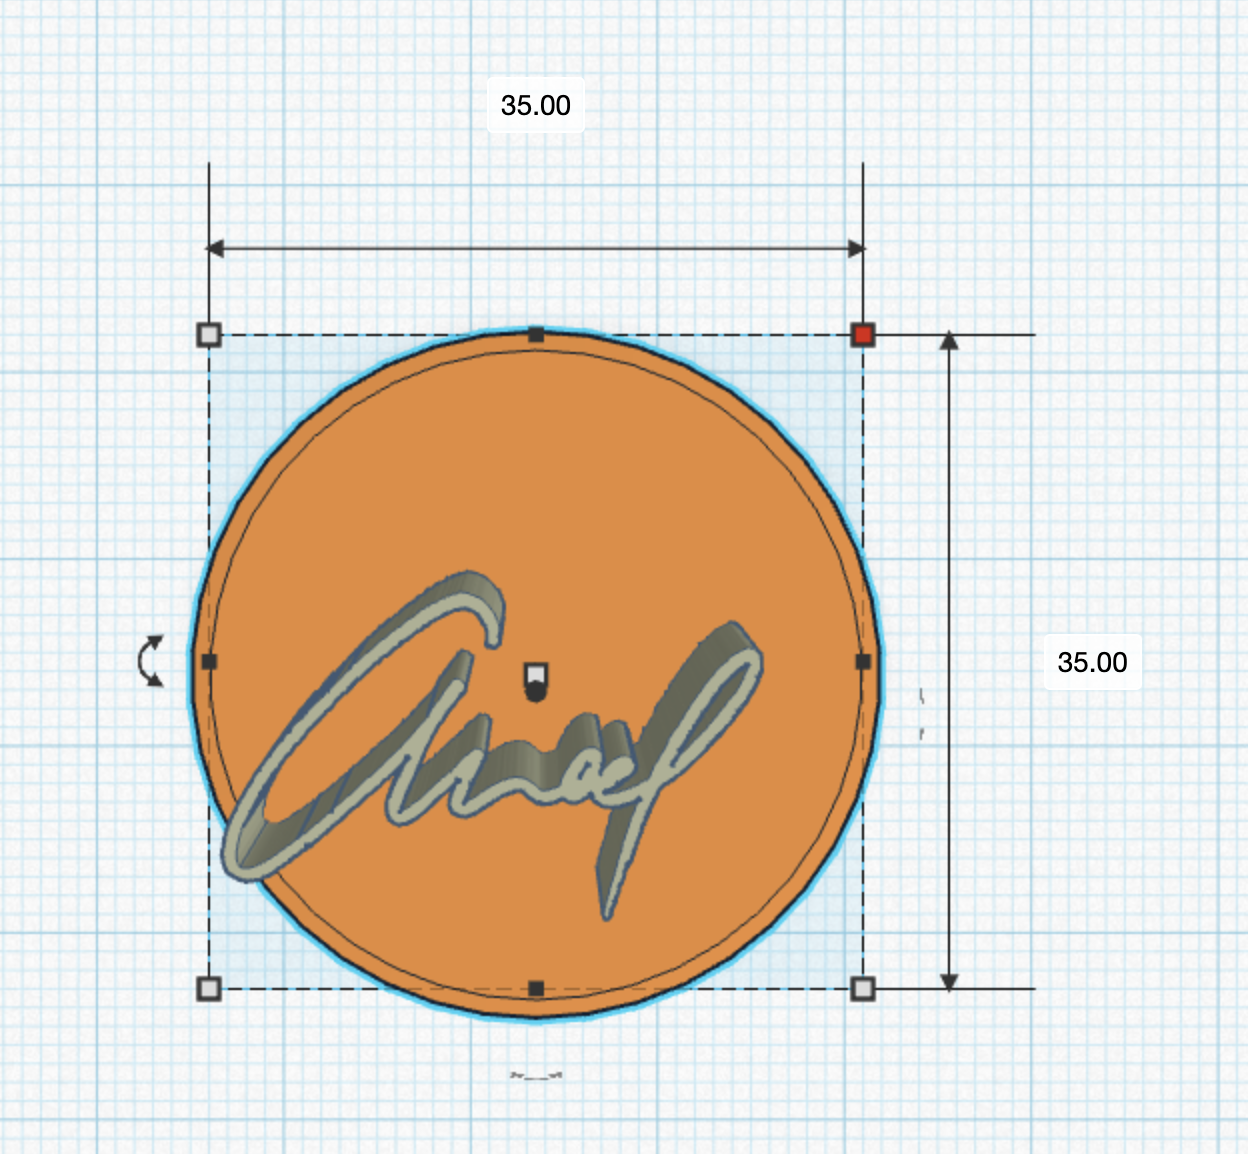
You need a flat surface to press on the surface of the clay. It can be any convenient shape, slightly larger than your SVG.
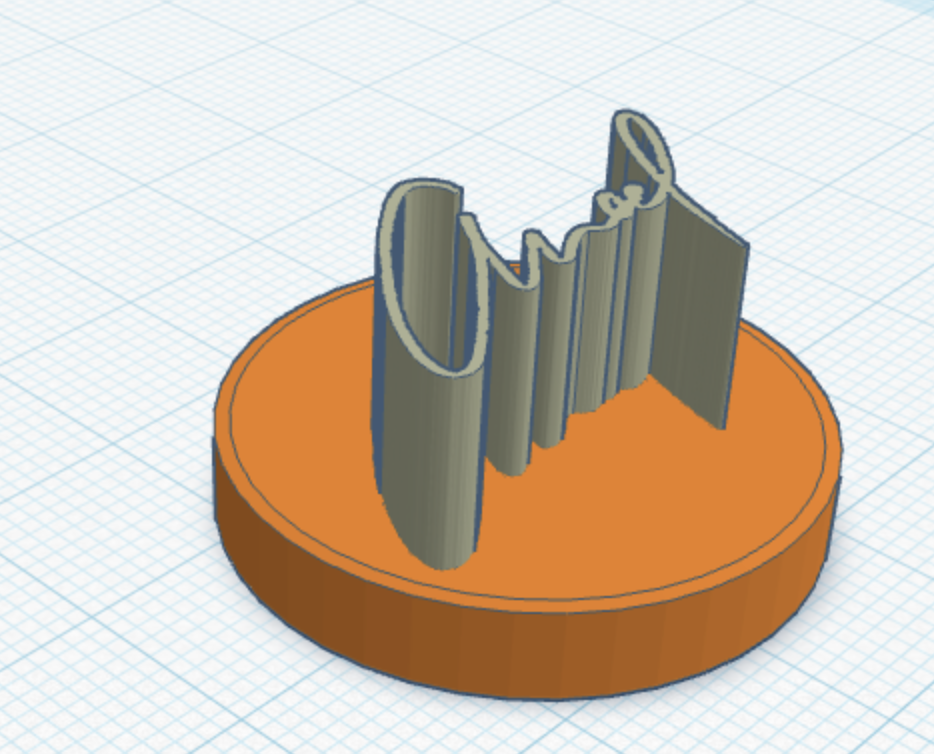
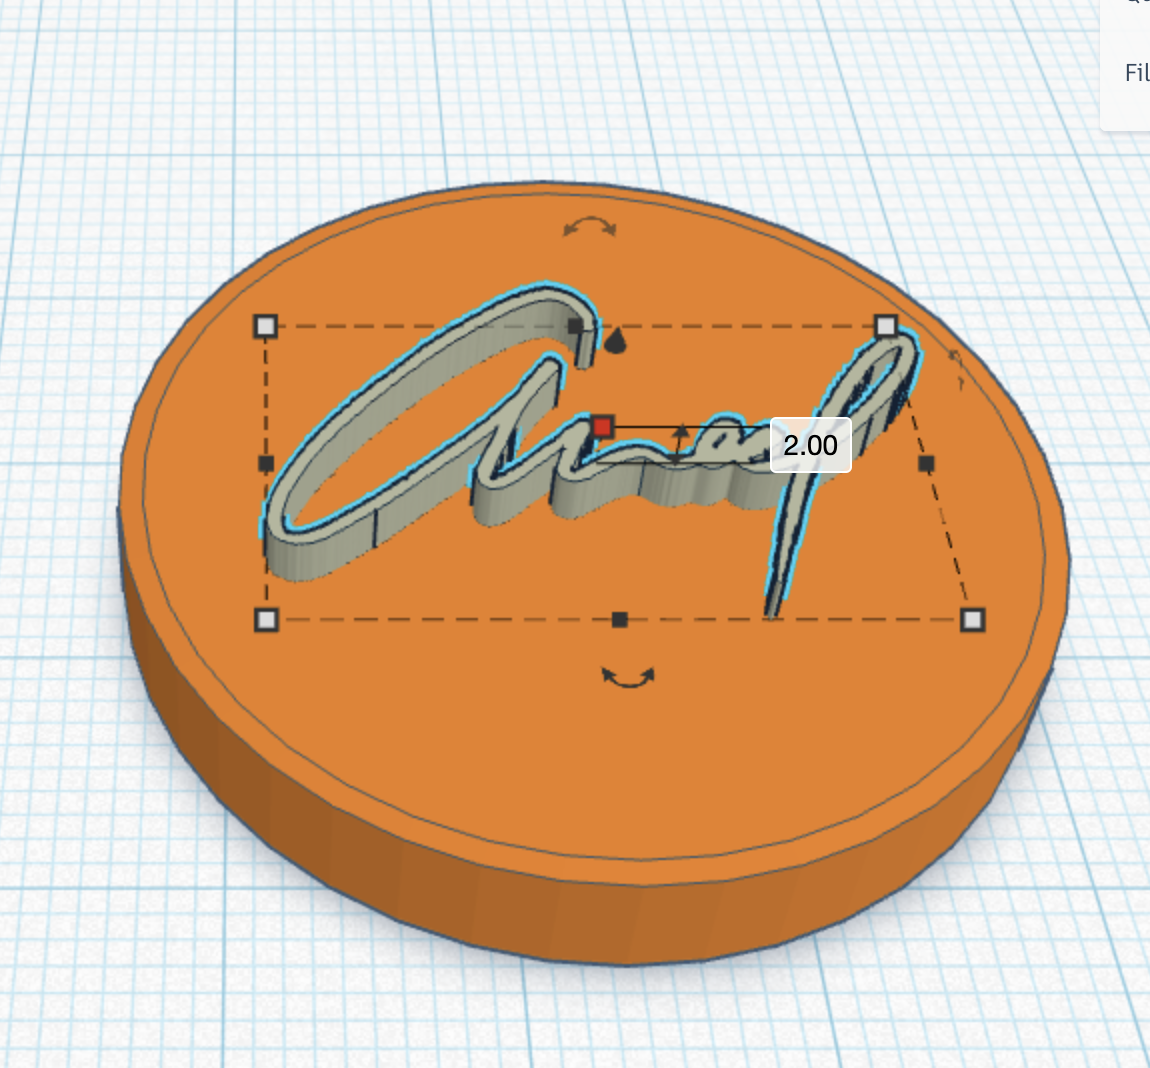
Tinkercad: Cruising the SVG onto the base
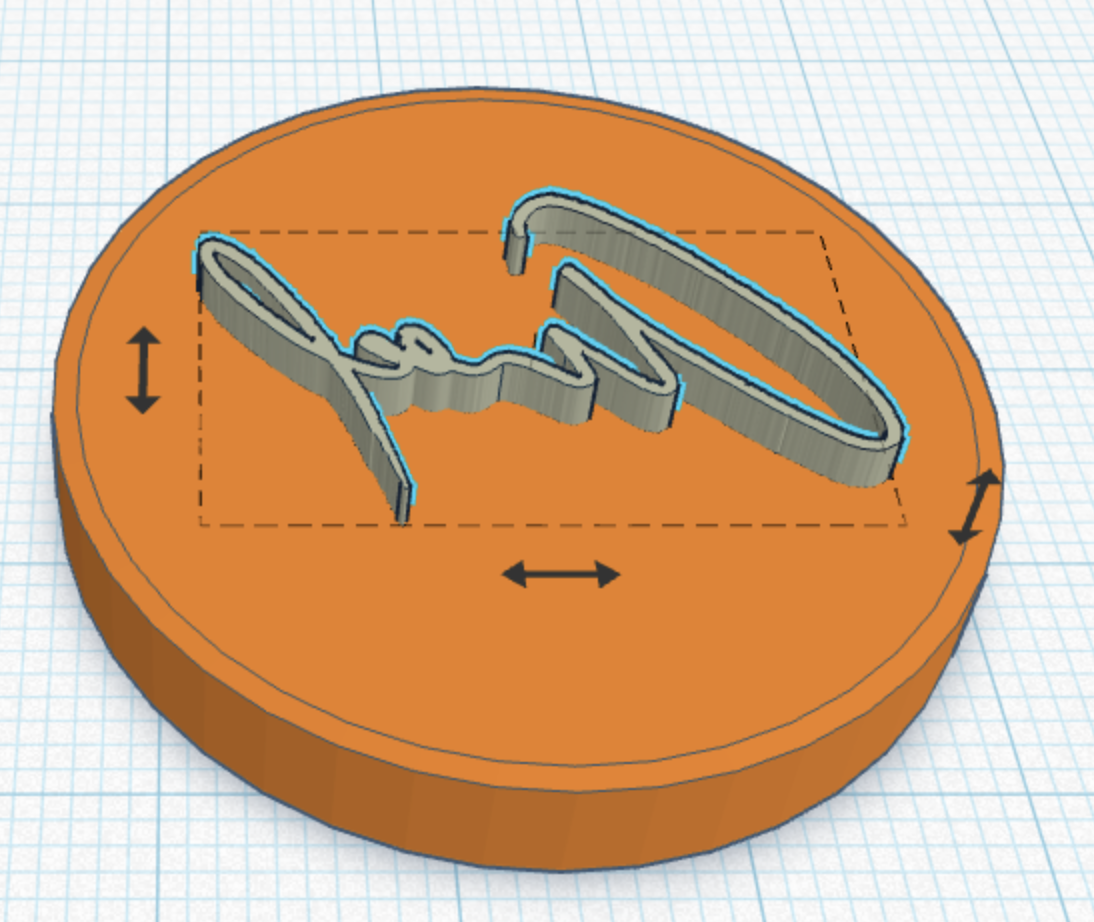
Tinkercad: Mirror
Because this is a stamp, it will leave a reversed image when we press it down.
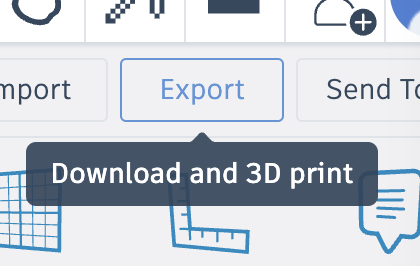
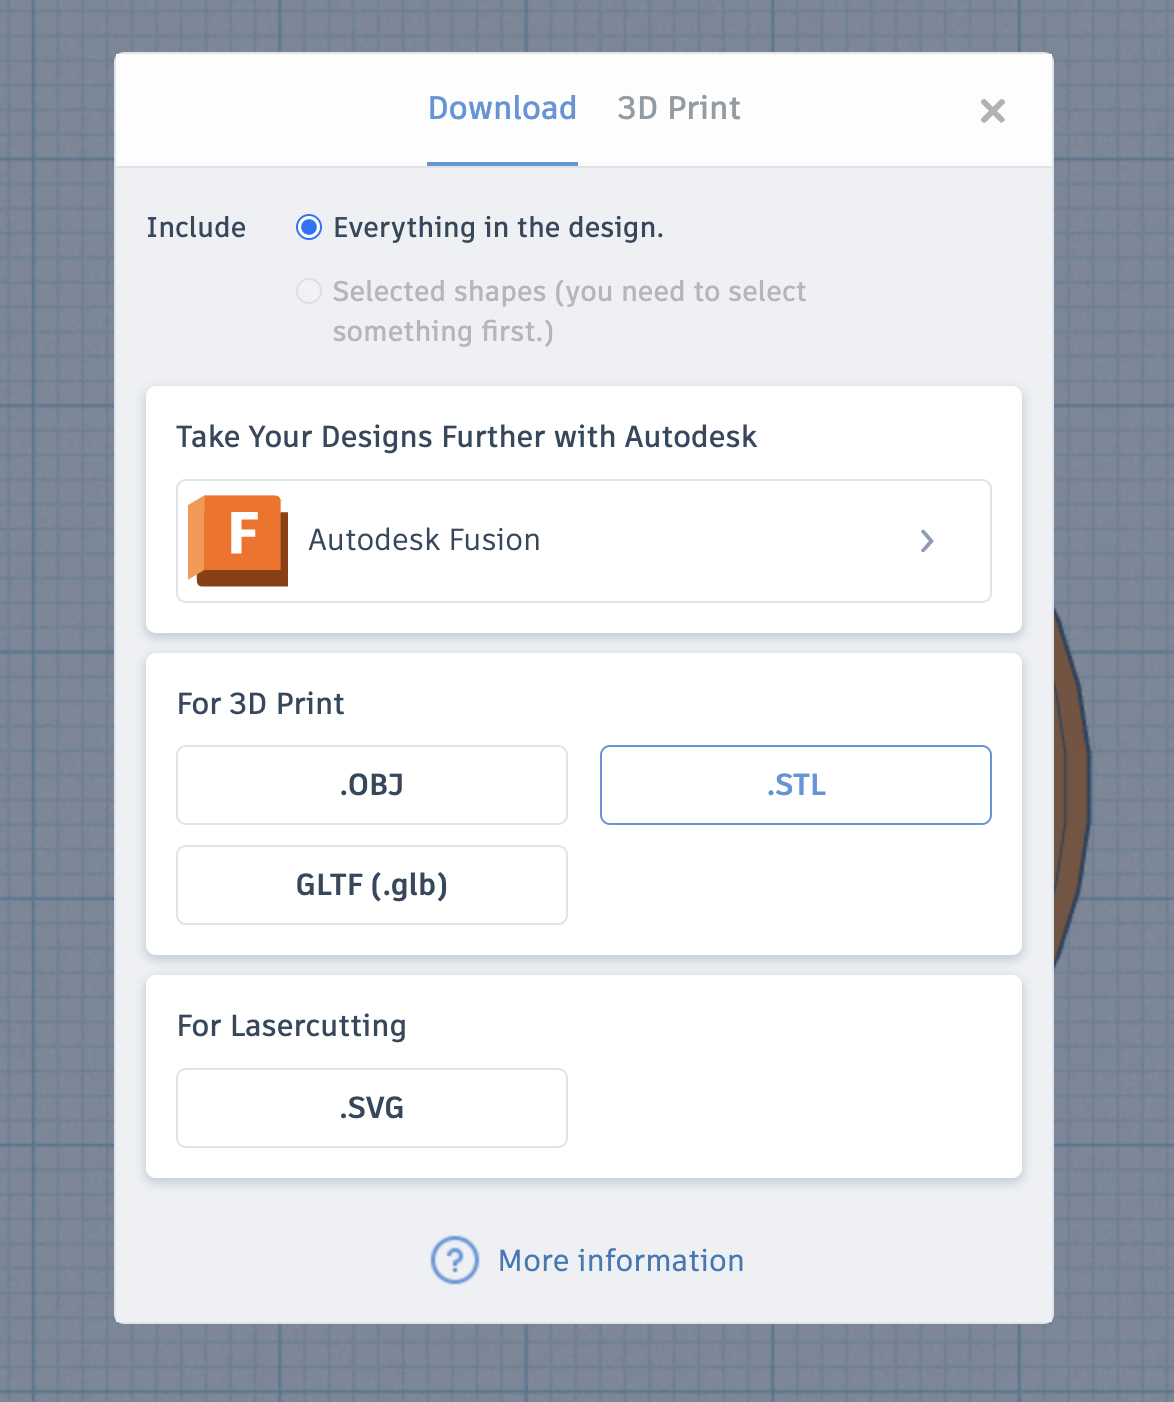
Tinkercad: Download 3D Model
Print!
Actually 3D Printing the STL is out of scope for this page. Take the appropriate Intro to 3D Printing class to learn how.
Make a Handle
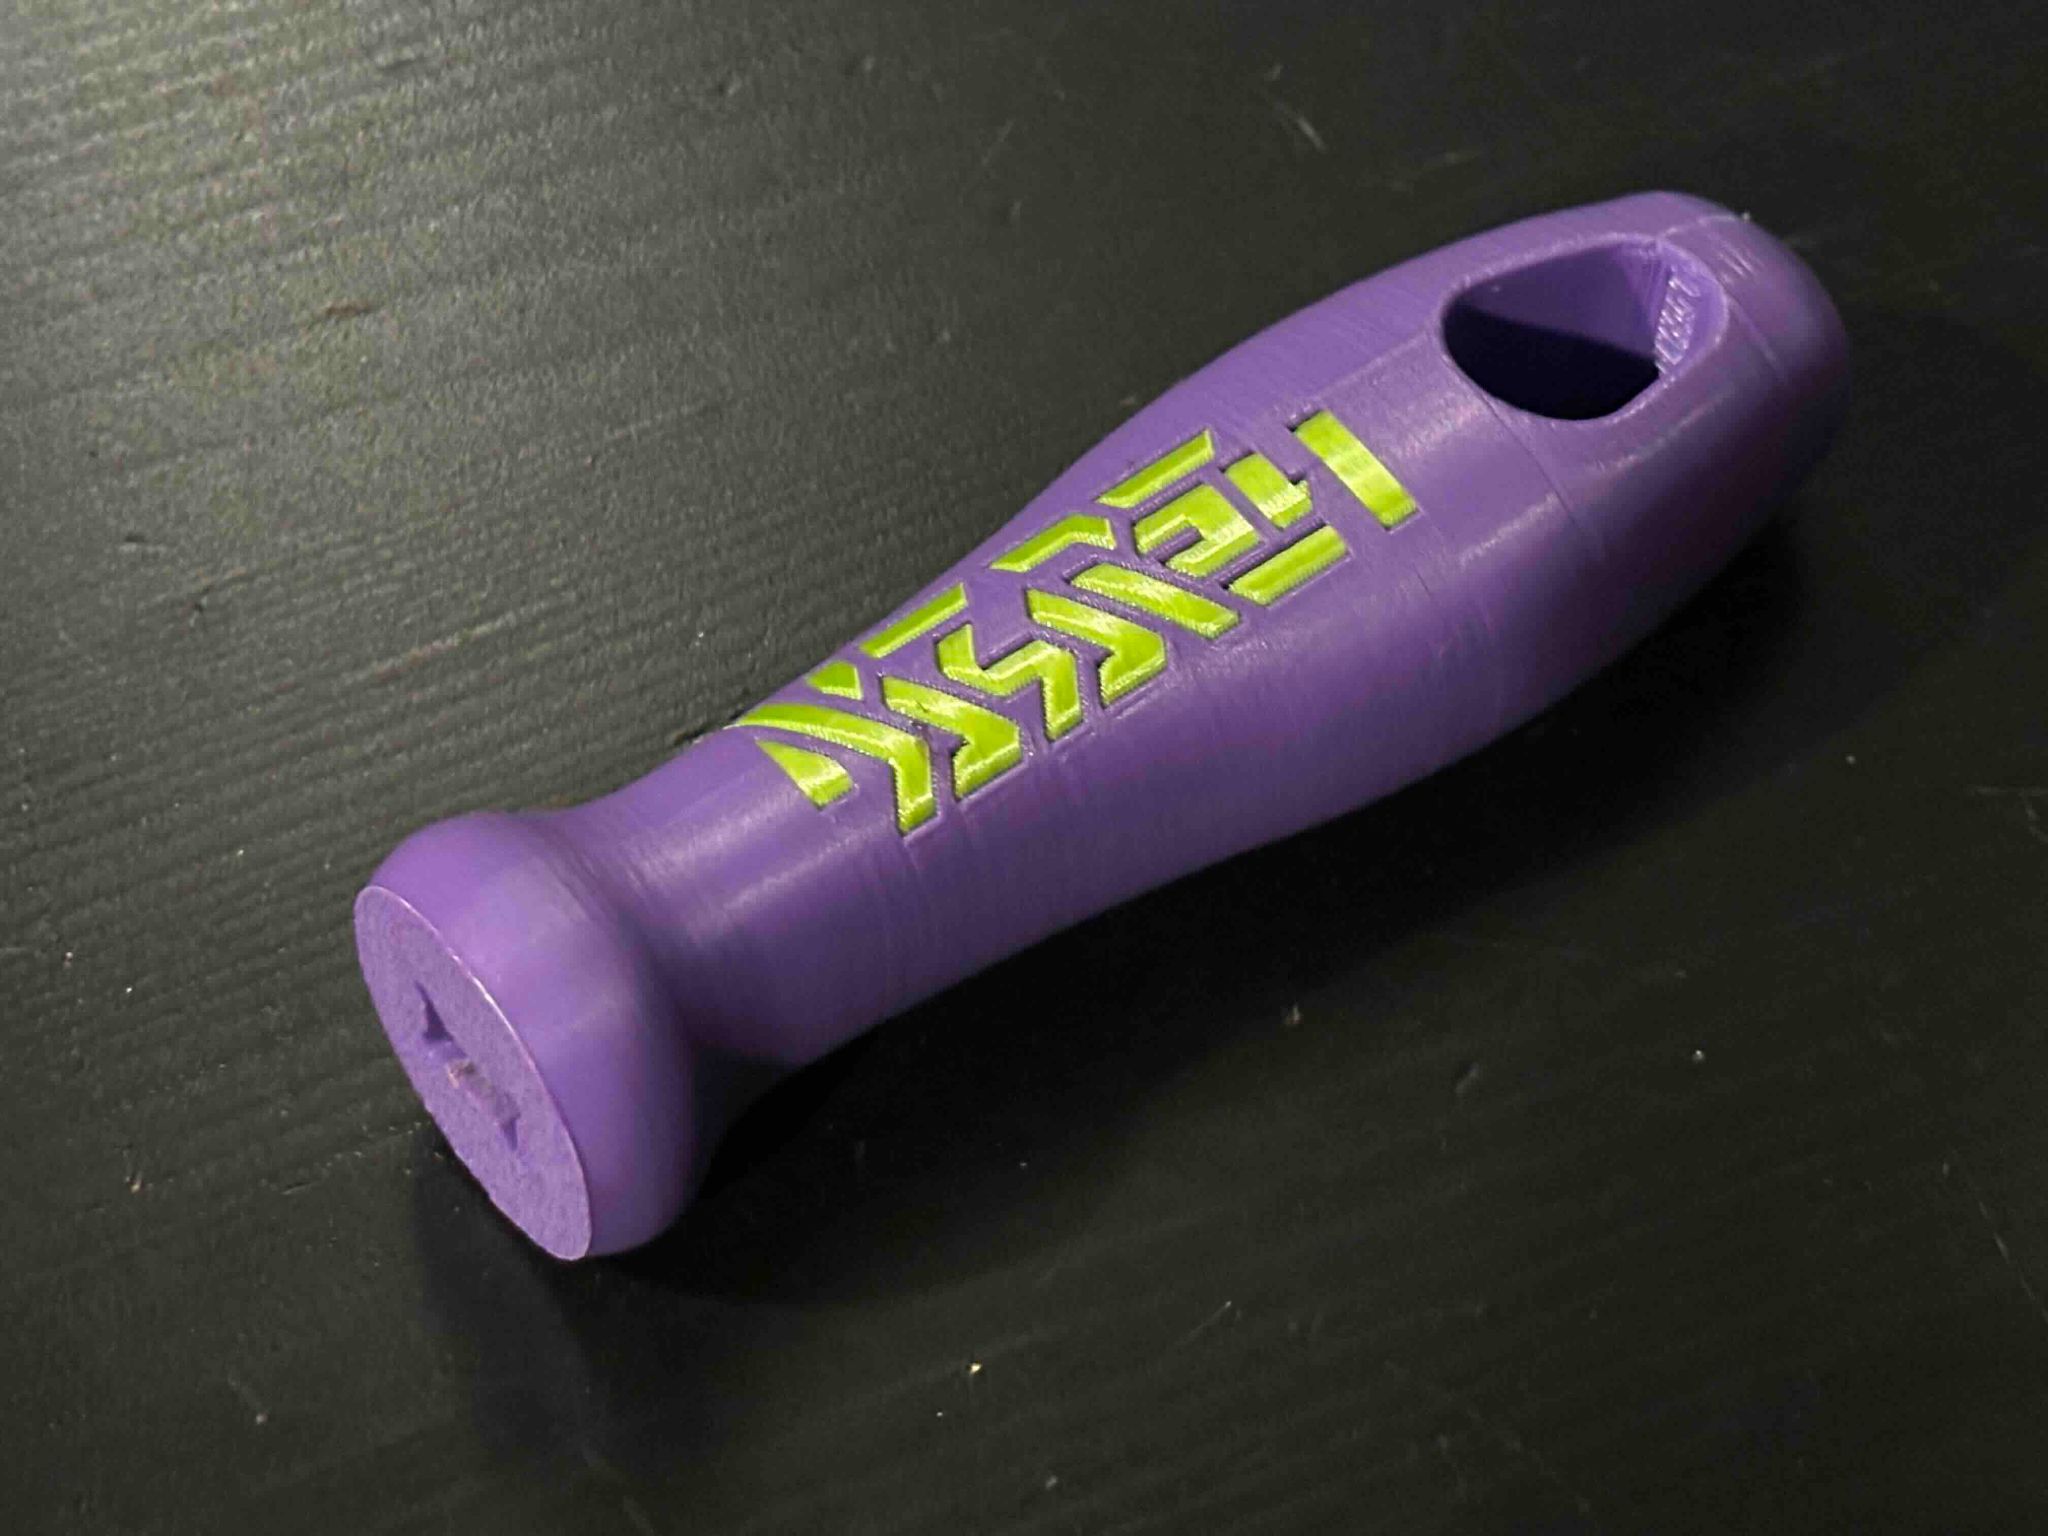
If you like, you can make a handle. It makes cleanly removing the stamp from the clay much easer. It can be as simple as a bit of wooden dowel. Or you could turn a nice piece of wood on the wood lathe, carve up some brass on the metal lathe, or 3D print a handle. Gorilla Glue works well for affixing the stamp to many materials.


