Pearl
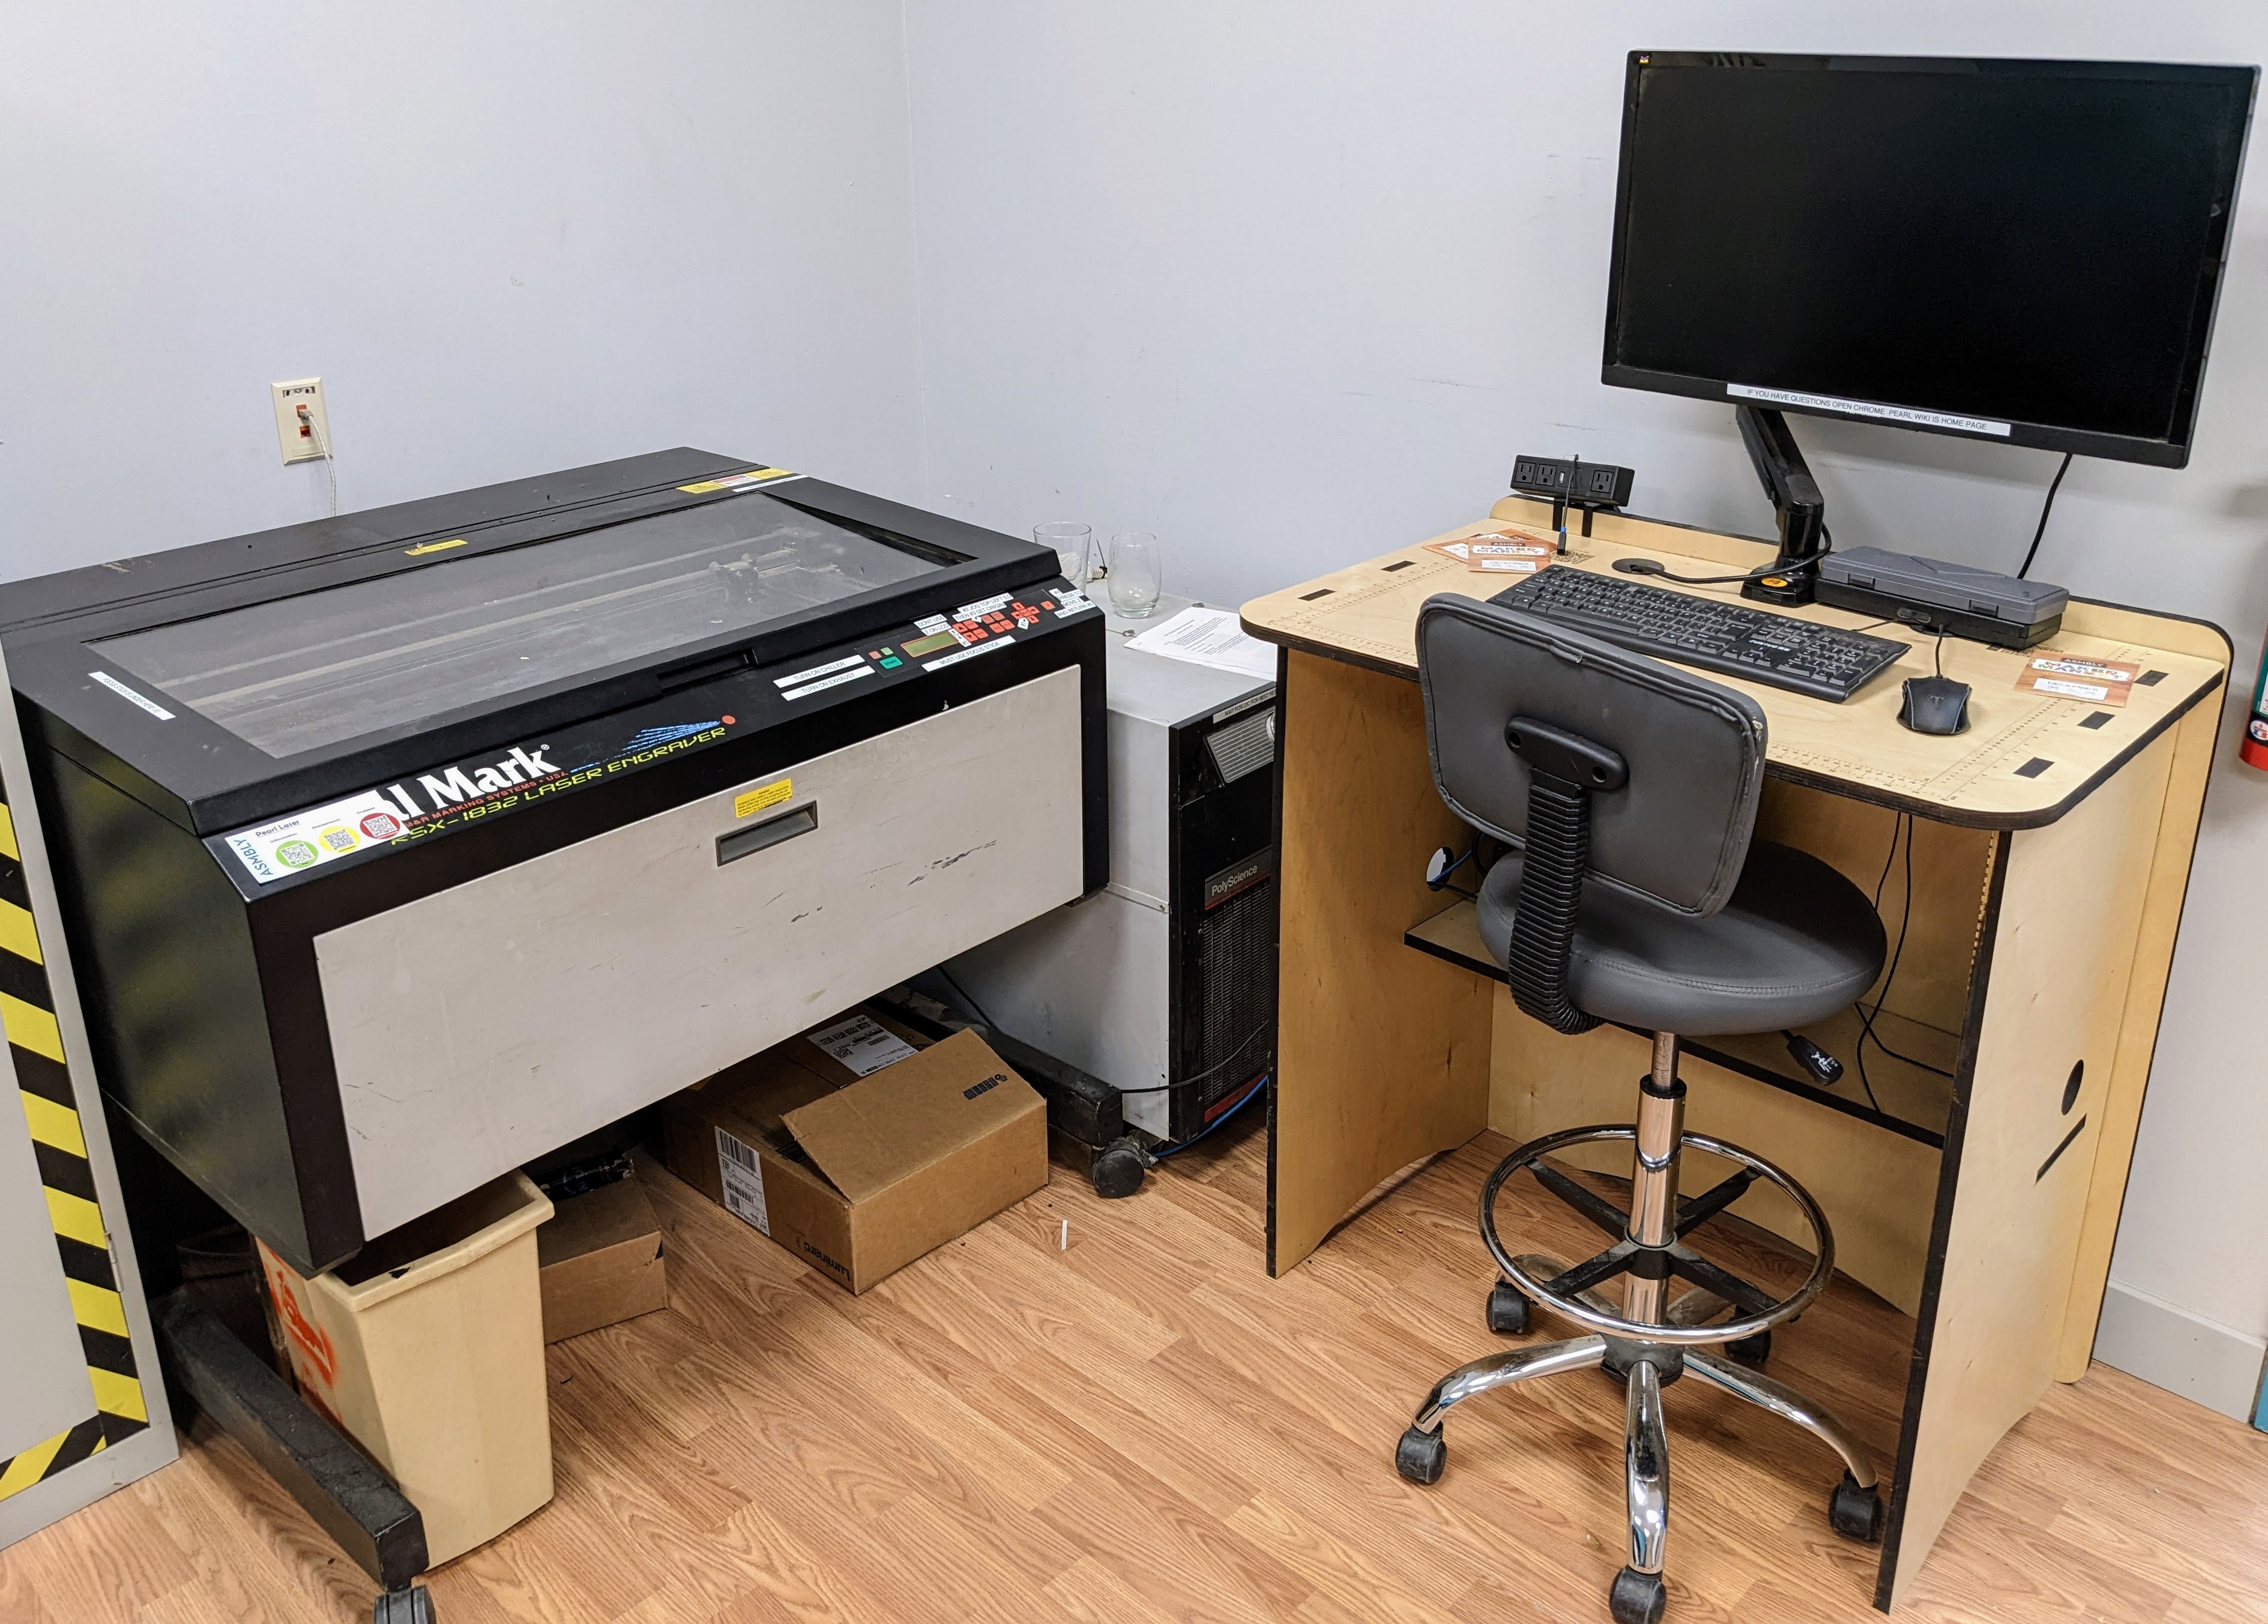
Pearl is a Royal Mark RSX-1832. It's the same chassis as Blue (it even has ULS badges on the back) but slightly stronger at 100W and has air assist like Red.
Pearl also has a rotary fixture, so you can use it to engrave round things like glassware.
Pearl is online and bookable, but air assist isn't functional at this time (October 2021)
Pearl Setup
Turn on chiller, wait for 22C which will take under 5 min and the chiller will auto-regulate there. The chiller must be on to run the machine. It’s not harmful to start running earlier, but its power is going to increase as temp drops and it will be inconsistent Turn on the blower, currently with a switch on a power strip. There is no protection against not doing this, so don’t. Will make automatic pretty soon
Set Z for your stock
Pearl has a powered Z axis, but unlike Blue/Red, it is not controlled by driver settings. You lift or lower it to the correct location for your stock thickness and it will always run your job wherever the Z is. It will never move it automatically.
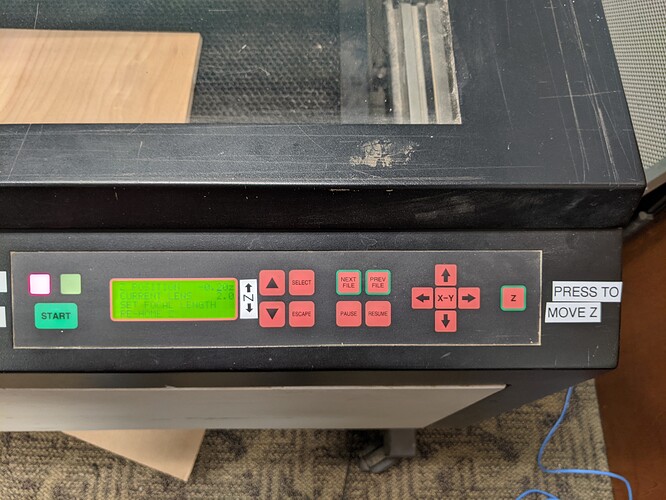
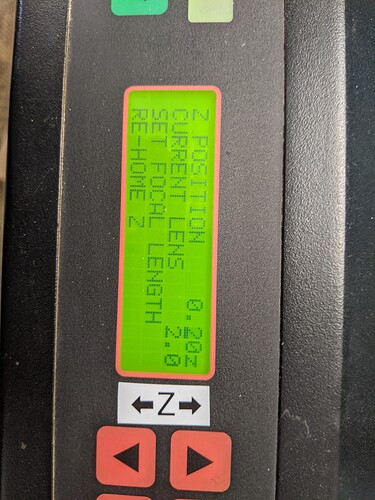
The Z is moved by panel buttons using the Z height shown on the panel's LCD. However, for some reason the Z height and/or focus keeps being incorrectly calibrated, we don't know why (possible user error), so we are NOT using this method until further notice. You need to use the stick, which many users did anyways.
To move the Z, first press the "Z" button on the right once.
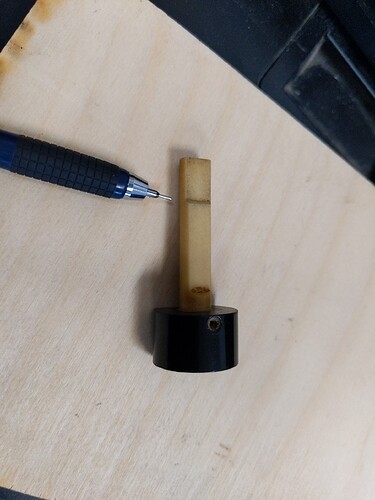
The carriage will jump to a focus location. Place YOUR stock UNDER the carriage. Locate the FOCUS STICK in a hole on the left of the bed under the lid.
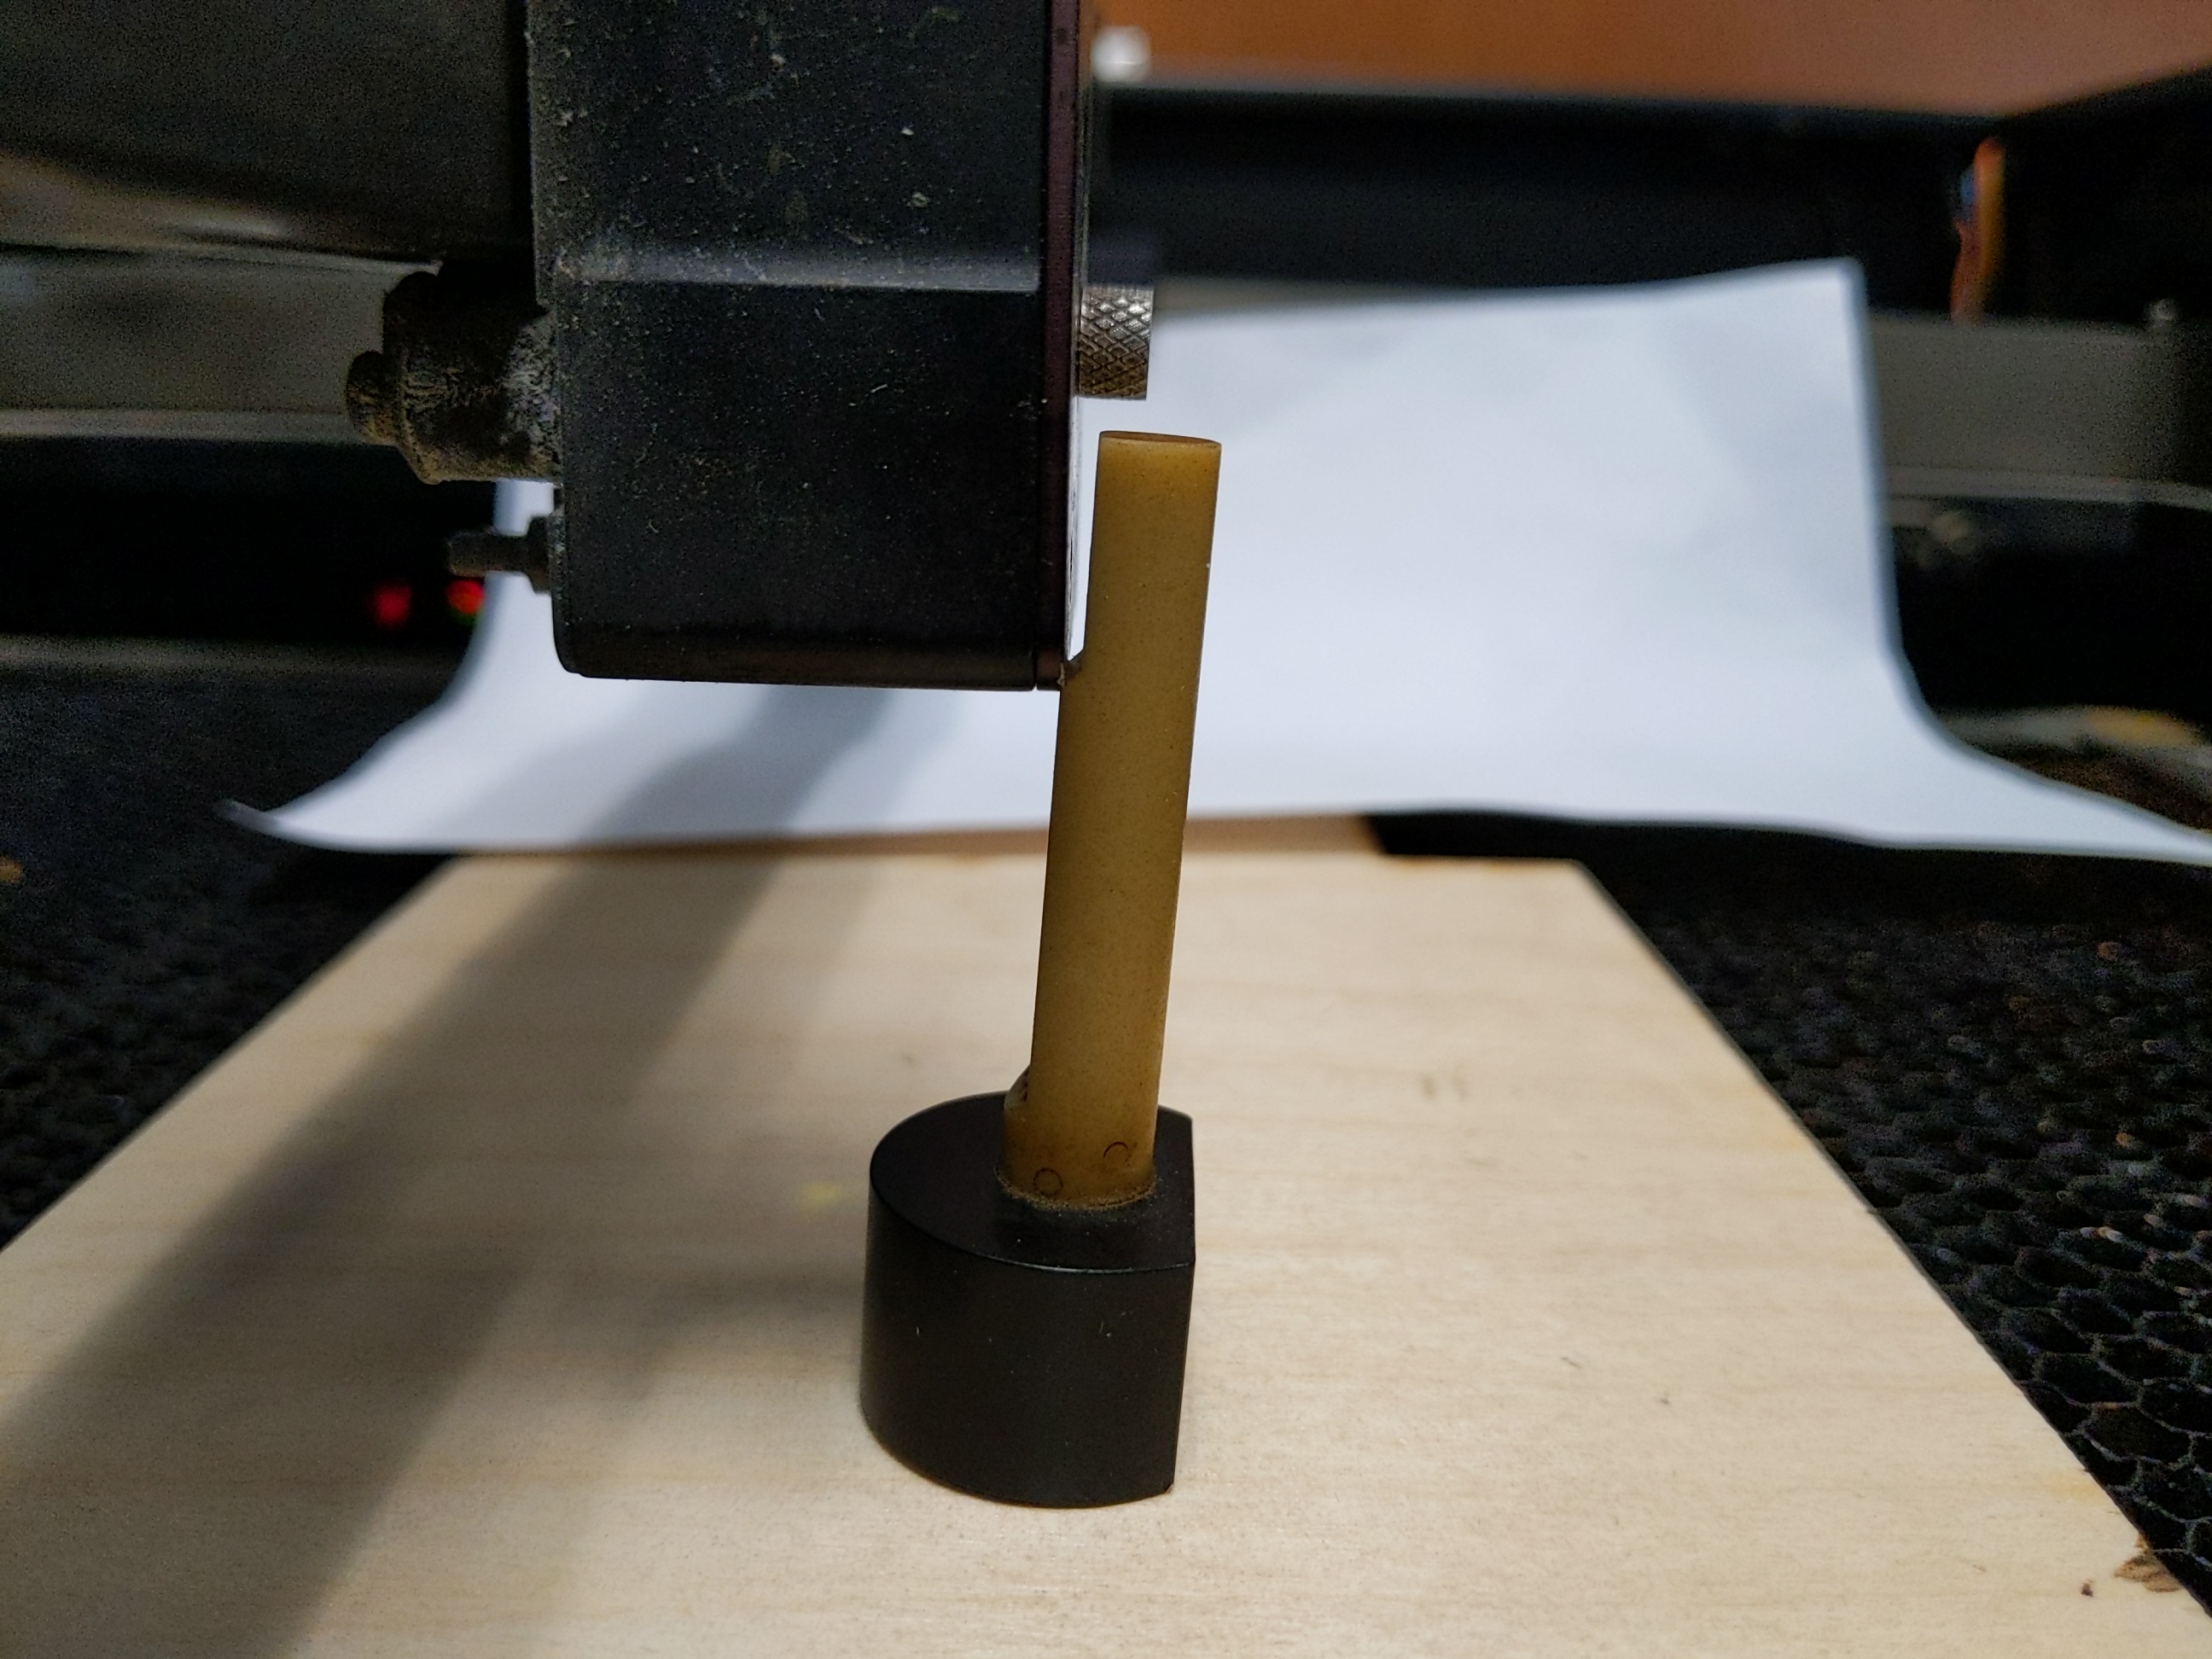
Locate the RAMP on the stick, just so you understand. This is the measurement point that will contact the BOTTOM LIP of the FRONT of the carriage at the perfect focal distance. Not the side of the carriage, pics are from the left. The stick's step is sloped so it does not pinch or jam against the carriage if adjusted too high, but just tips away.
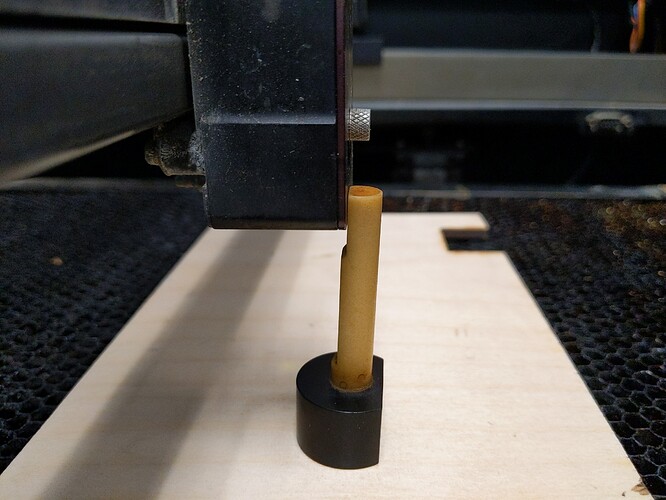
Place the focus stick ON TOP OF YOUR STOCK LOADED IN THE BED, against the FRONT of the carriage. This is shown LOW, you need to Z UP.
Use the Z UP/DOWN arrows to move the bed. Again, the "Z position" LCD display keeps getting changed somehow so just don't use it for now.
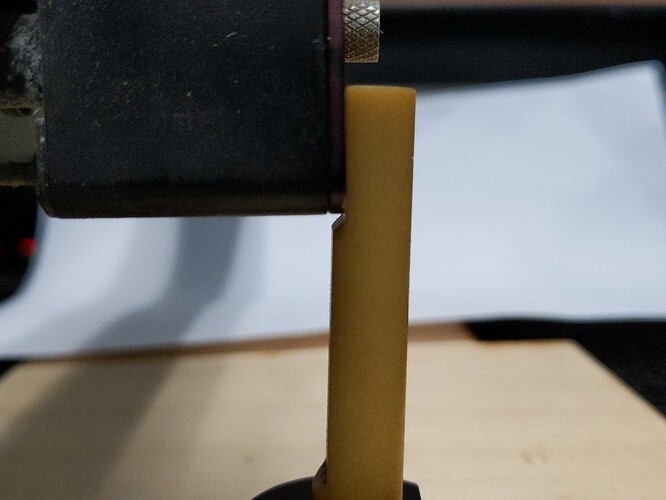
This is now too high, the ramp tilts the stick away. Go DOWN.
This is perfect. The Z UP/DOWN button deals in 0.1" steps and that's good enough for most apps.
Press the "Z" button on the right to send the carriage home and return the stick to its hole.
Printing From Adobe Illustrator
Like all ULS machines, VECTORS must be very thin or they will be reinterpreted as RASTER graphics. ("HAIRLINE" in Corel, or >=0.001 inch thick).
In Illustrator, change to inch units:
Illustrator->Edit->Preferences->Units->Stroke=Inches to enable Inch units
Change all vector lines to 0.001" stroke
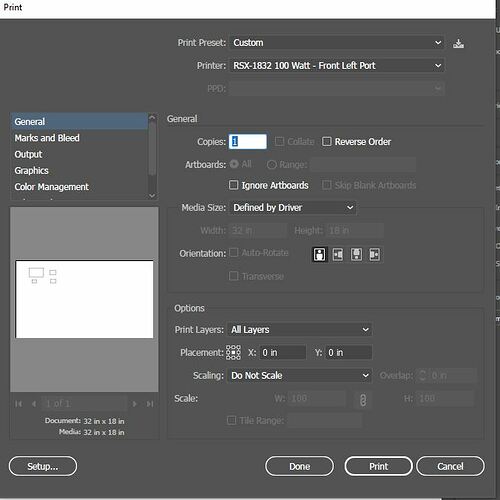
When you print in Illustrator:
Media size: DEFINED BY DRIVER
Orientation: PORTRAIT
Print Layers: ALL LAYERS
Placement: CENTER, right beside that enter X=0 Y=0
Scaling: DO NOT SCALE
If you set this differently, the job may shift a bunch in +/- X or Y, or may disappear off the workspace all together. The Preview window should appear correctly as shown, however if you did not select CENTER for PLACEMENT, it will shift your job when cutting but unfortunately will NOT appear differently on the Preview window.
“THE CATCH” of using Illustrator: every time you go to ULS’ “Setup” to change your power and print or save from there, Illustrator has been seen resetting ALL the above fields. So, reselect Portrait, Placement->Center, and change offsets back to zero after visiting the ULS setup window. If anyone knows how to keep Illustrator from reverting like this, that would be great.
ULS's Print Driver Menu
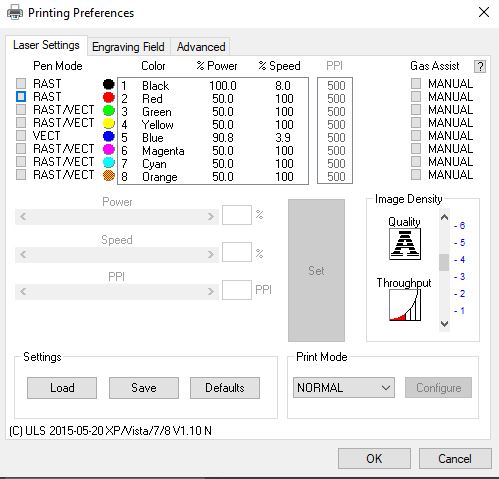
When you do hit SETUP, you see the familiar ULS print driver settings, needed to set speed, power, rastering settings, etc
The difference vs Red and Blue is there's no entry for Z, because it just runs wherever you left it after adjusting with the stick. PPI is now relevant, as this laser uses a pulse-mode source. PPI may change the appearance of the cut edge, becoming serrated if very low. Low settings (150PPI) may cut at greater speed than a higher PPI as the pulsing may be more intense peaks.
150 PPI for cutting and maybe 500 for rastering or fast engraving is a good suggested starting point.
Laser Cutter Settings
1/8" plywood 11% speed 150 PPI 0.2" plywood 8% speed 150 PPI
Maintenance
This tool is owned by Danny Miller and hosted at Asmbly for members to use. Please submit a problem report if maintenance is required.
