BambuLab P1S
![]() Members must complete the BambuLab P1S: Techniques Class before using this tool
Members must complete the BambuLab P1S: Techniques Class before using this tool
Maintenance
This tool is owned by Michael Dixon and hosted at Asmbly for members to use. Please submit a problem report if maintenance is required.
Asmbly has one Bambulab P1s 3D Printer and one Automatic Material System (AMS). Located in the in the Multi-Purpose Room, these in the far corner to the room between the Prusa printers and resin printers. The P1S is named Poseidon.
|
SafetyUniversal Safety
Equipment-Specific SafetyBambulabP1S: Techniques is required to use this tool. No special PPE is required to use this tool. Booking PoliciesTime booked for 3D printing in Skedda does not count against your weekly Asmbly hours. It is fine for a print to continue while Asmbly is closed.
EtiquetteIf you come in for your scheduled time and a print has finished, feel free to move it and any filament on the machine to the table to the left of the enclosure. If you are in the 3D printing area and see a print in progress that is obviously failing, it is a good idea to stop the print so that it stops wasting filament. Try to contact the person who has that printer booked in Skedda to let them know. Discourse is a good way to do that, if you don't already know them. Use CaseThe Bambulab P1S is a good printer to produce small and medium sized objects using up to 4 filaments with the AMS using many common filament types. The filaments can be mapped to the model using Bambu Slicer, Bambulab's proprietary slicer software. If you need to print larger things, consider splitting the models into smaller parts or use the Prusa XL. If you need to print in ABS, ASA, or other materials that print better enclosed, please make sure to preheat the bed with the door closed for a minimum of 30 minutes at 60C. Use Skedda to reserve time on the specific printer. MaterialsAcceptable MaterialsMany types of 1.75mm filament will work with this printer. Please note that when using cardboard spools in the AMS, members MUST place a printed spool ring over the spool edge to avoid cardboard dust buildup inside the AMS. This printers is not currently equipped with an abrasion-resistant nozzle. This means that filaments that include additives like glow-in-the-dark (strontium aluminate), carbon fiber, glass fiber, wood, or metal cannot be used with this machine. Material LimitsPrint volume is 256mm x 256mm x 256mm (10" x 10" x 10") ConsumablesYou are responsible for providing your own filament. There are many places to order from, including MatterHackers, Prusa, Polymaker, and Amazon. We are not currently aware of any place to buy filament locally, but if you know of one, we'd be interested! If using a micro SD card to start a print, one is available for use and is always inserted into the P1S. However, if you find yourself printing from micro SD frequently, consider bringing your own. Asmbly currently only provides a textured PEI printing sheet. Asmbly also provides cleaners for the sheet: Isopropyl Alcohol (usually in a squeeze bottle with the printer tools) and Dish Soap (in the coffee area just outside of the multi-purpose room. OperationControlsEmergency StopIf you see or hear something going terribly wrong with the printer, you can immediately stop it by shutting off the power switch located at the back bottom right of the machine. Examples of situations where you would want to do this: the nozzle is contacting the steel plate, the printer is trying to move the head beyond its rails. If you just need to stop a print, please press the dial control and select Control PanelThe printer has a control panel that can be used to do things like preheating the machine, loading and unloading filament, pausing/stopping a print, and starting a print from an SD card. Stopping or Pausing a printYou can stop a print from either the Devices menu in Bambu Slicer or the control panel. If you stop or pause a print from Bambu Slicer, it will not move the nozzle clear of your print. If you hope to resume, it is probably better to do this from the control panel. Firmware Upgrade WarningIgnore messages about a firmware upgrade warning.. Settings and AdjustmentsFilamentMake sure that your gcode is sliced for the particular kind of filament you're using. You can select the filament type on the control panel, and adjust the bed and nozzle temperatures. Print Bed SheetThere is a chart on the enclosure that lists which sheets are best for each kind of filament, or check Section 6.3.2 of the handbook Make sure that the printer knows which sheet is on it. The sheets have different thicknesses, and you may not get a good first layer if the wrong sheet is selected. CleanupUniversal Cleaning Guide
Tool Specific Cleaning Guide
ResourcesManual
Discourse LinksExternal ResourcesPlaces to find models to print:
Places to buy filament:
TroubleshootingCommon ProblemsModel not sticking to the sheetIf you are having trouble with getting your first layer to stick properly try these:
Nozzle has plastic stuck to itThis often happens as a result of the model not sticking to the sheet, and causes problems when you try again.
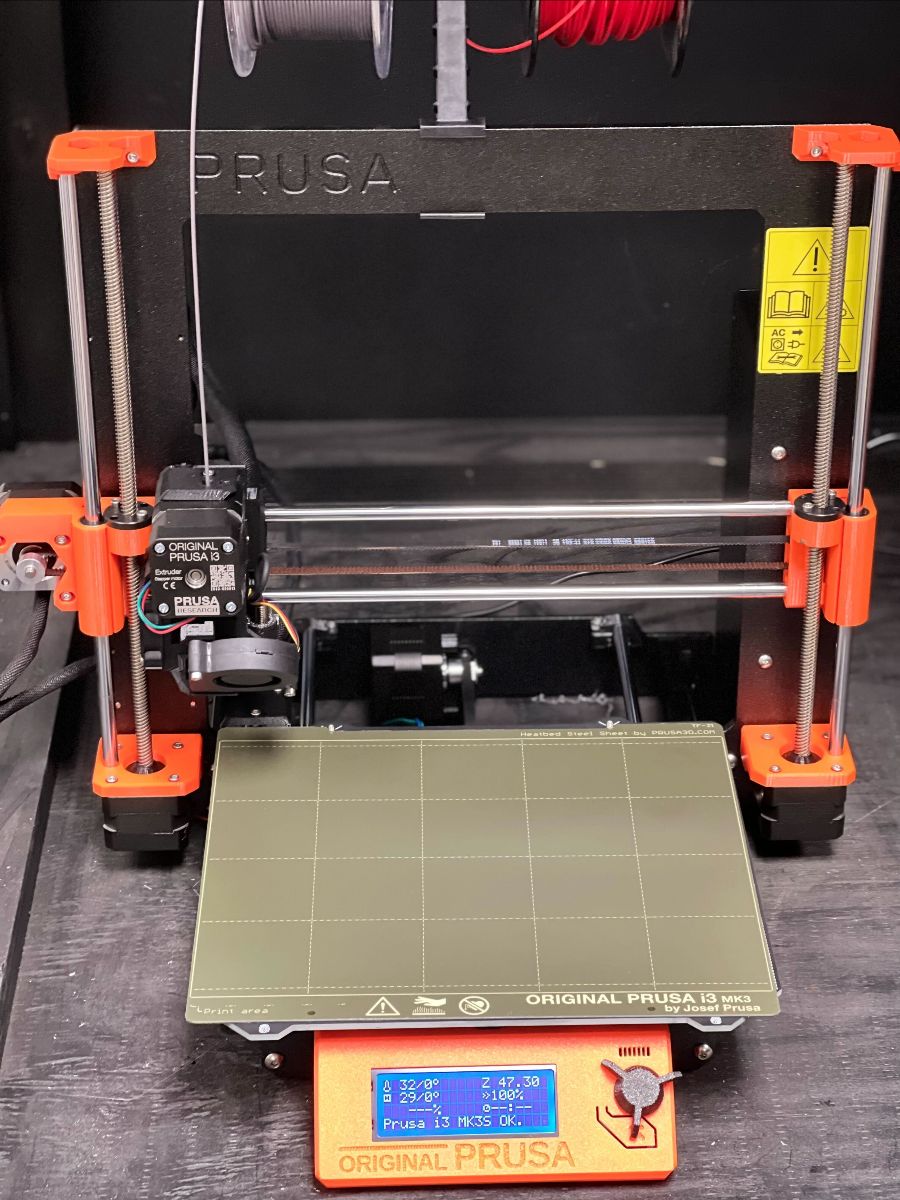
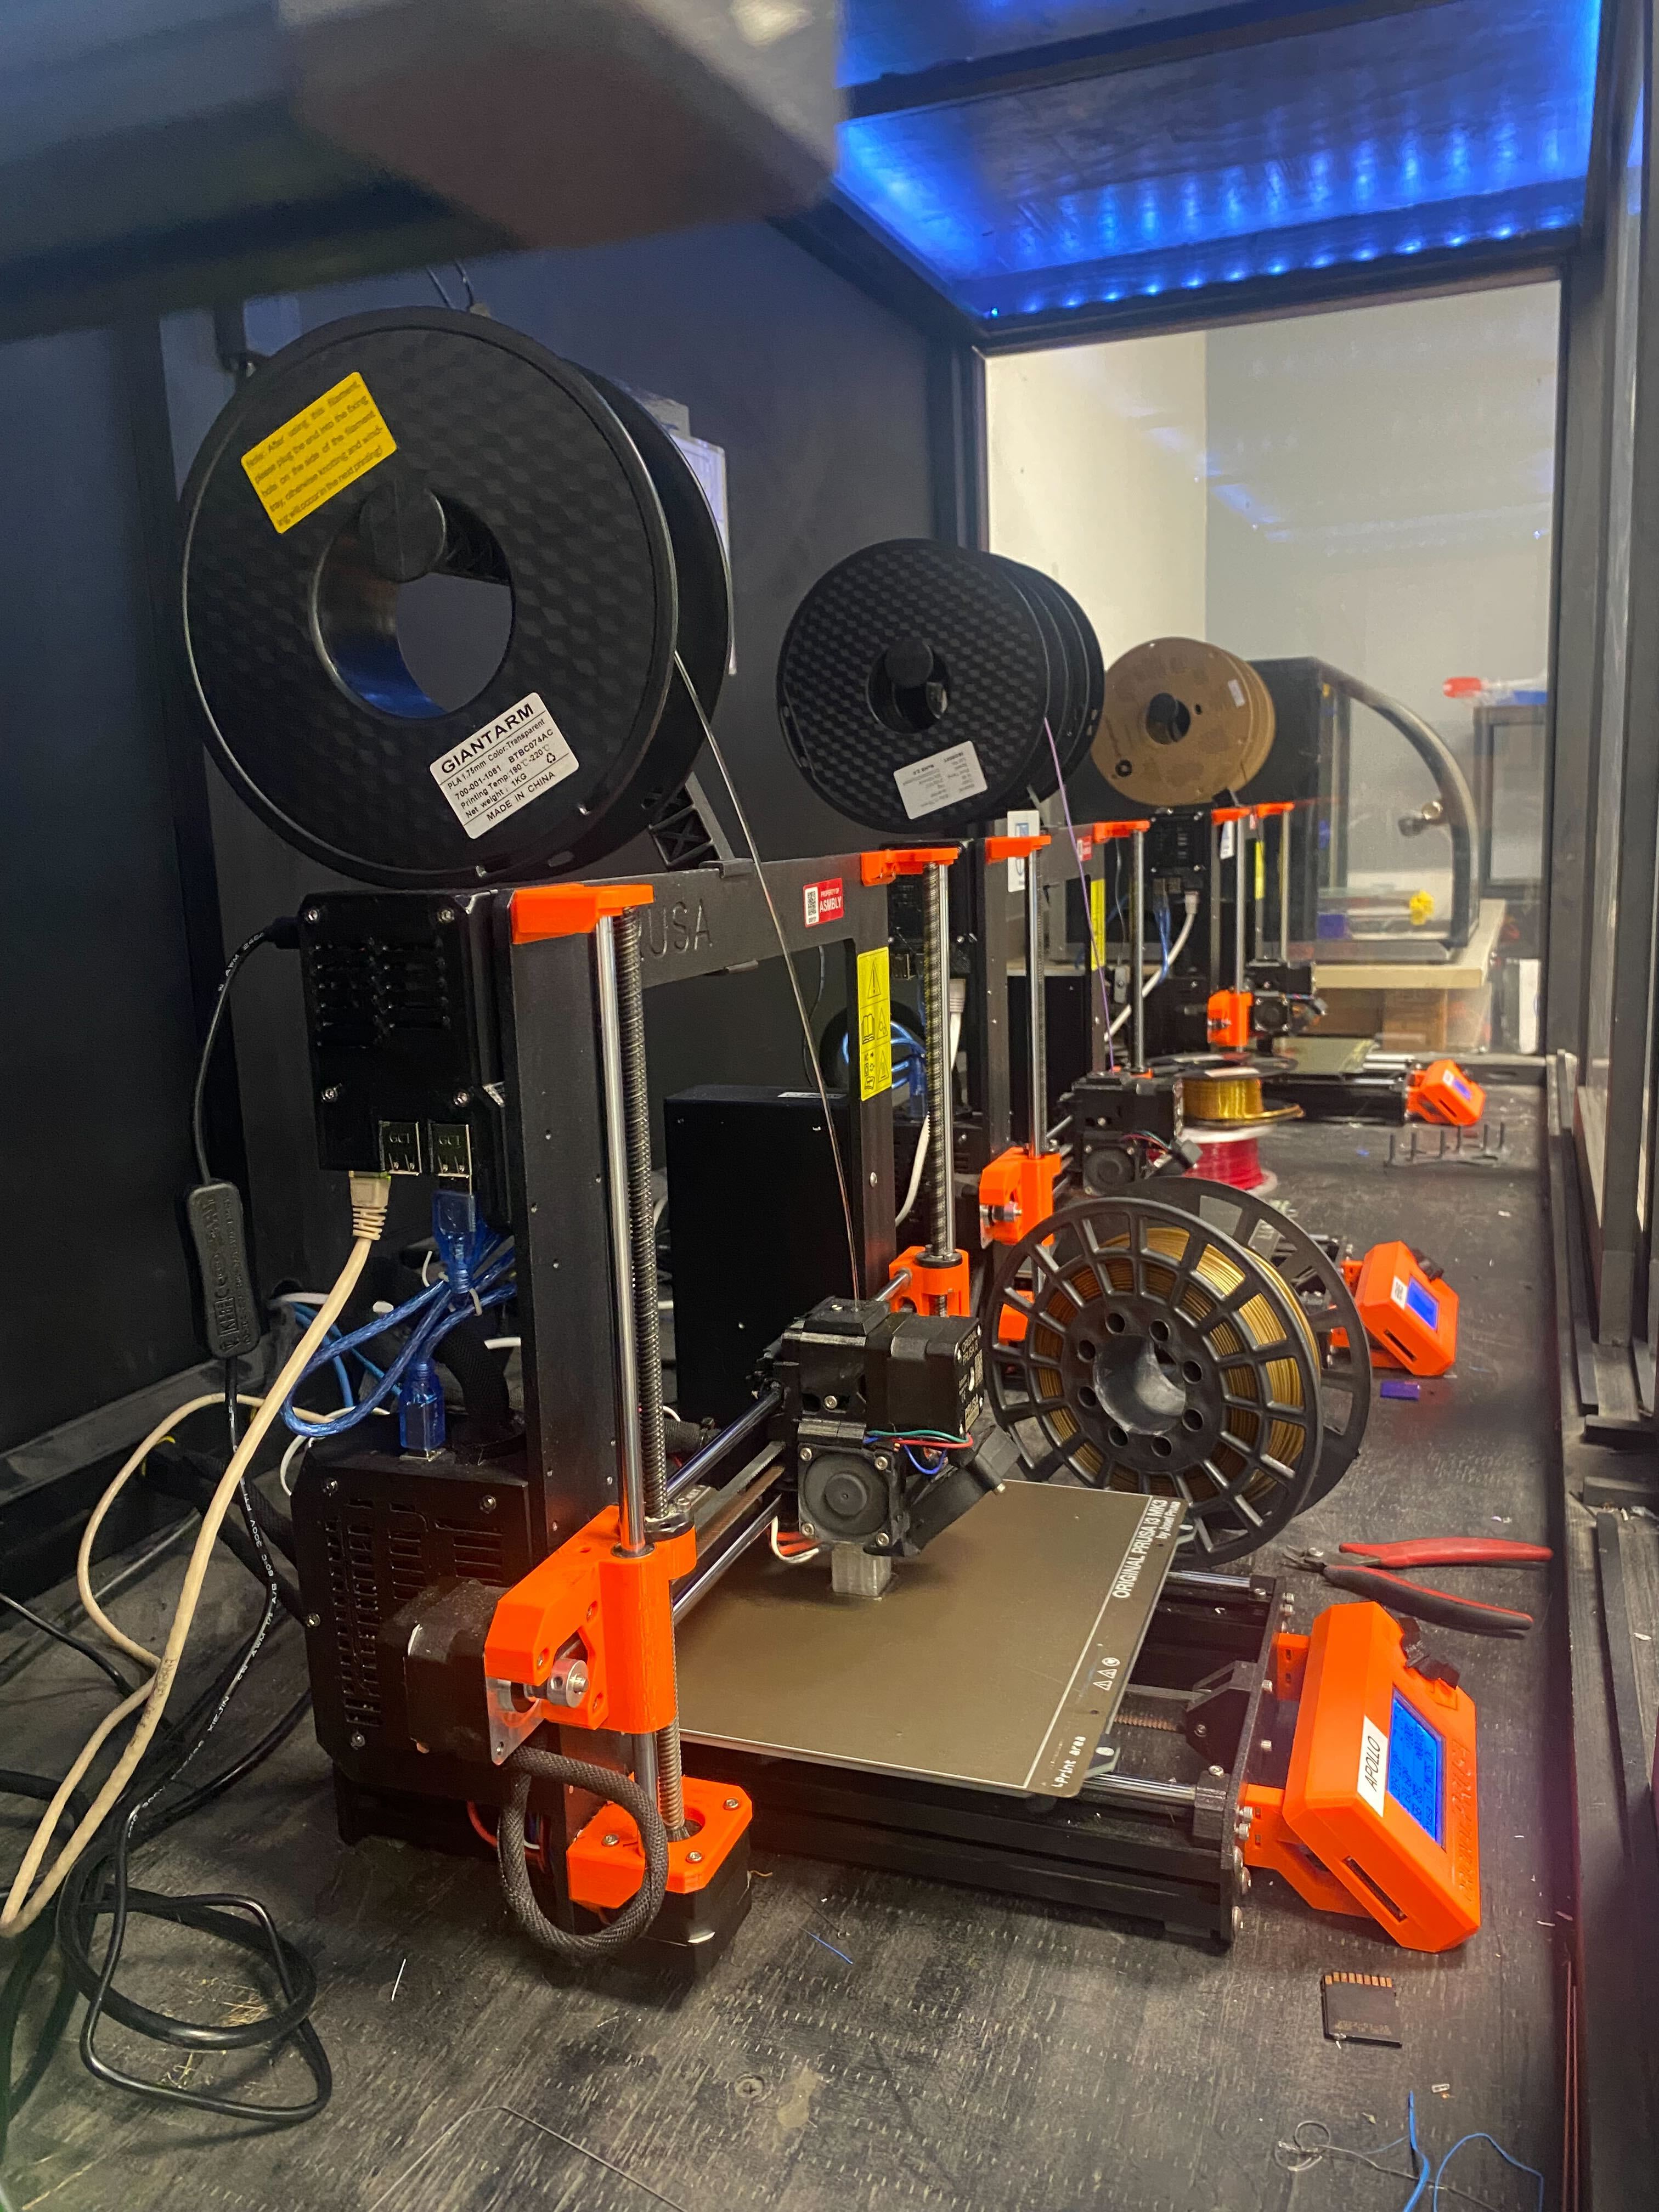
OtherIf you are unsure, it is always best to contact a steward and fill out a problem report MaintenanceThe information below is primarily for stewards. Regular MaintenanceThe lead screws should be cleaned and lubricated regularly. This video provides a good walkthrough: How To Service Your Prusa i3 MK3 OctoprintOctoprint - Configuration and install The Octoprint configuration is the standard OctoPi installation, consisting of the Raspberry Pi 3 or 4 being attached to the back of the printer frame, connected via USB to the printer and via Ethernet to the ASMBLY network (WiFi connection from the Pi to the network is currently unstable), with the OctoPi 1.0.0 (build 2023.10.09.151442) stable image installed on the Pi. In an attempt to keep the printers as easily serviced and maintained, we are trying to keep the installation as standard as possible. More documentation about OctoPi can be found here. Files for printing replacement Pi 3B and Pi 4B cases can be found here: Moving the printersDue to the Octoprint installation on the printers, take extra care to make sure not only the main power cable is unplugged from the printer, but also the ethernet cable and the USB power cable connected to the Pi mounted to the back-upper-left corner of the printer when moving the printer around or out of the enclosure. Remember to reconnect these later. Rebooting ProcedureIn order to fully reboot the printer and the Octoprint server attached to it, power off the Pi at the back-upper-left of the printer by toggling its inline power switch, and turn the printer off using the power switch on the power supply unit at the back of the printer. Then toggle the power supply unit switch back on, and then turn the Pi back on. The Octoprint page should be reachable in under one minute. Z ProblemsIf the printer is printing too far away or too close to the bed for the first layer (to see what these look like look at Section 6.3.9 of the handbook), the Z probably needs to be fine tuned. Try this:
|


